Hey there, crafty friends! Welcome to our second day of sneak peeks for the October Release at Taylored Expressions. Our release theme this month is Christmas, Christmas, and a little bit of Thanksgiving! I love crafting for the holidays whether it’s handmade cards, gifts, table settings, or layouts for my scrapbook. So you can imagine that I’ve been a pretty happy crafter creating with all these new goodies over the past few weeks!
Today the Baker’s Dozen and I have more projects to share to get you inspired before all of the new products are available for purchase on Thursday, October 2nd at 7am PST in the TE web store.
Before I share my projects for today, I bet you’d like to know what’s up for grabs when you leave a comment on my blog post!
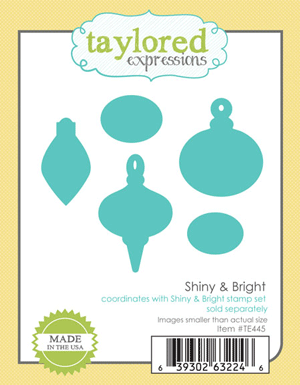
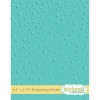
Today we’re giving away the Shiny & Bright stamp set and the Snowfall Embossing Folder!
Enter to win by leaving a comment on this blog post before Wednesday, October 1st at 11:59pm PST. One entry per person. Each comment will also be automatically entered into our Grand Prize drawing for a $50 Gift Certificate to the TE Store! Winners will be chosen at random and announced on Thursday, October 2nd, 2014.
Introducing:
STAMPS
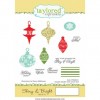
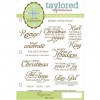
Shiny & Bright
Sing of the Season
Sing of the King
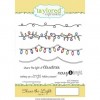
Share the Light
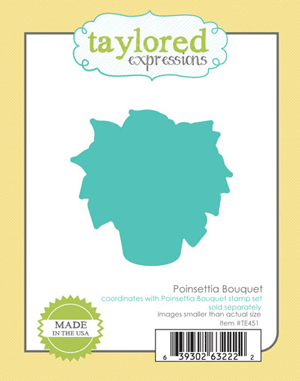
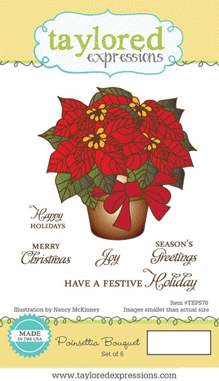
Poinsettia Bouquet*
Sparkle & Cheer*
DIES
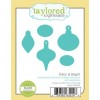
Shiny & Bright
Label Stacklets 9
Bethlehem Border
Jingle All the Way
Poinsettia Bouquet*
Sparkle & Cheer*
Sweater Weather Cutting Plate
LITTLE BITS
Stocking
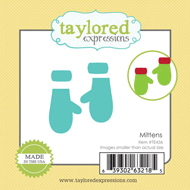
Mittens
Ornaments
Present
Christmas Tree
Candy Cane
Holly
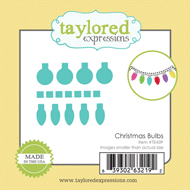
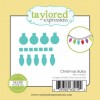
Christmas Bulbs
Gingerbread Man
EMBOSSING FOLDER
Sheet Music
*previously released stamp set now with coordinating die(s)
That’s a lot of goodness up there! Are y’all still with me!? Just wanted to check in because I’m about to start sharing my projects and wanted to make sure you haven’t fallen out of your chair! *wink*
I’ll start with a project that uses the two products we’re giving away today! I pinned a card on Pinterest recently that had a large snowflake hanging within a circle opening in the front of the card and I was inspired to try something similar using the ornaments from the Shiny & Bright set.
I stamped the red ornament in Versamark and embossed it with Red Tinsel embossing powder. The green ornament is stamped in Olive Pastel Colorbox Chalk Ink. I die cut the ornaments with the coordinating dies and set them aside.
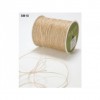
It’s a little tough to see in the photo, but I embossed the patterned paper piece with the Snowfall embossing folder before adhering it to the card base. After adhering the patterned paper, I used a circle die to cut a hole through both the patterned paper and the front of my Sugar Cube card base. I hung the ornaments with natural burlap twine by taping them onto the inside of my card. Then I created another layer for the inside of the card to cover up the tape and string from the ornaments.
Here you can see how the ornaments hang inside the open frame. I adhered a piece of neutral snowflake paper to the inside of the card so you could see snowflakes through the open frame while still being neutral enough to stamp a sentiment and write a message.
The holly was cut from Split Pea felt and embellished with a small twine bow and red button. The sentiment is from the previously released Rejoice stamp set.
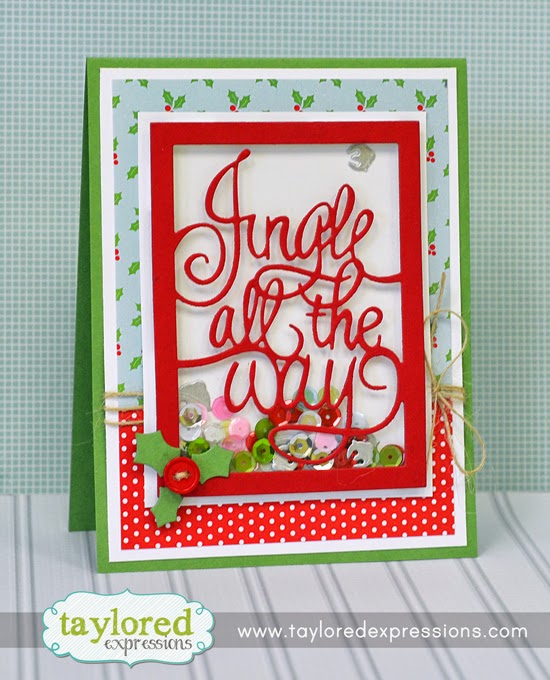
For my next project I made a shaker card. It had been a long time since I had made a shaker card and now I’ve done two in the last week! The Jingle All the Way die was specifically designed to make an easy shaker card, but can certainly be used without the shaker feature. The frame around the outside of the words was intentionally made thick enough to allow for easier application of foam tape. Before adhering the top of my shaker, I poured a few Gingerbread Lane sequins and die cut jingle bells (painted with silver paint pen!) inside.
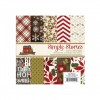
The patterned paper is from the Gingerbread Lane paper pack. I accented the bottom of the frame with the Little Bits – Holly die to coordinate with the holly in the patterned paper.
The last card I have to share today uses the Share the Light stamp set and Little Bits – Christmas Bulbs dies. This card makes me happy! No… it wasn’t the quickest card I’ve ever made, but the cute totally makes up for the time it took! You’ll notice that the Little Bits bulbs come with multiple dies in the same shape/size. That’s to cut down on the number of times you need to run it through in order to make cards like this one. I only had to run it through my machine one time for each color!
I ran the bulb connector portion through several times and pieced them at the top of the ornament and then colored them with silver paint pen.
I’m also excited to try the Little Bits Stocking, Mittens, and Ornaments hanging from the strings in the Share the Light set!
Thanks so much for stopping by today! Don’t forget to leave a comment for your chance to win some of our new goodies! And since you’re leaving a comment, I’d love to know what your favorite product from today’s showcase is. And for even more awesome inspiration you’ll want to visit the Baker’s Dozen blogs to see what they’ve come up with!