May 22, 2015
Blog Design Team: Let’s Do a Fly By…
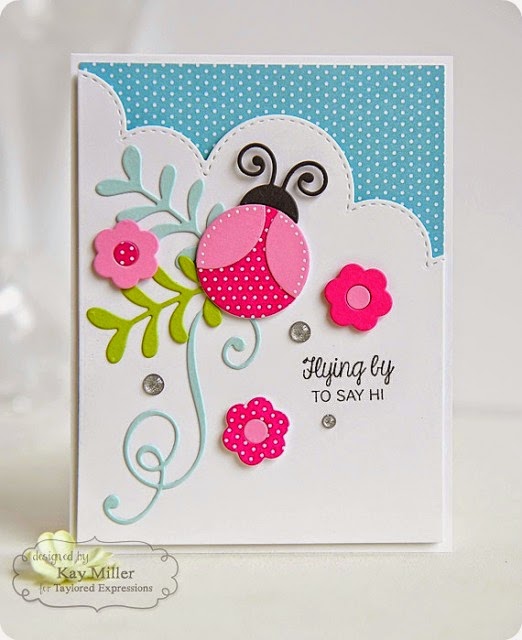
Happy Friday, crafty friends! This week has just flown by, and today’s card from Blog Team designer Kay Miller, has got the idea of ‘flying by’ down pat. Check out her darling card below…
Plus, let’s zoom into this weekend with a giveaway! Read on for details…

And now, let’s hear from Kay about her project…
Ladybugs are one of the very few bugs that I actually think are cute! Aside from ladybugs and butterflies, all other bugs fall into the creepy category for
me. This card features an adorable ladybug created with the
cute Bugs & Balloons stamp and die combo set.
I started
with a top folding white card and cut a piece of the blue dotted
patterned paper to 4 x 5-1/4 inches and glued that down. I next cut out a
white piece of card stock to 4 x 5-1/4 and, using the Rolling Clouds die,
cut off the top right corner. I adhered that to the dotted paper using
foam tape. This created my ‘cloudy sky’.

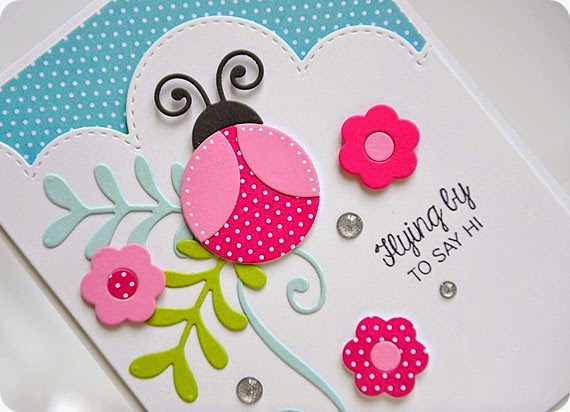
Next, I assembled my little ladybug. I cut the body out of the
pink dotted paper and then I used the same circle die to cut the wings.
After cutting the light pink circle out, I moved the die over to one
side of the circle and cut again, creating the wing shape. I glued these
to the body and added some white dots with my gel pin. I cut the head
out of Poppyseed card stock and glued that to the body.
Next I cut out
the swirly curlies, the greenery and the flowers. I stamped the sentiment from
the Bugs and Balloons set onto the white cloud panel then added the
ladybug and flowers with foam tape. I tucked the greenery and the light
blue swirl underneath the ladybug with just a dab of glue. Last I added a
few Doodlebug Sprinkles. I hope you have enjoyed learning how I created
this card. (The ladybug would be really cute created in black and red too!)
Thank you so much, Kay, for sharing your beautiful ladybug card with us today! Be sure to visit Kay on her blog, My Joyful Moments, for more of her fabulous work. Have a wonderful weekend, crafty friends! Be sure to check out our giveaway below!


How to Enter: Leave a comment below telling us about your best or worst bug experience by Sunday, May 24, 2015 at 11:59 pm PST.
We’ll choose one lucky winner at random to win a Bugs & Balloons Stamp & Die Combo! We’ll announce the winner here on the TE Blog next week. Good
luck!