Sep 19, 2017
Creative Cutting Plates Week: Inlaid Sponging!
Hey, hey, crafty friends! Did you know that Taylored Expressions has nearly 60 Cutting Plates in the Web Store? I’ve loved using Cutting Plates for a long time because they make quick work of creating backgrounds for card projects. Our Creative Team is always full of awesome tips and tricks, so I asked a few of our fab gals to share some ideas on fun new ways to use their favorite Cutting Plates and I can’t wait to share them with you! Today, we’re getting crafty with Kim Singdahlsen, who has a step-by-step tutorial so let’s get started!

Notes from Kim about her project…
Cutting Plate dies are a fabulous way to create a background with dimension and detail. It can be as simple as cutting it out and adhering it so that another cardstock or patterned paper shows through the openings. But you can get a very different look by inlaying the pieces you normally cut out back into the larger piece.
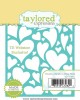
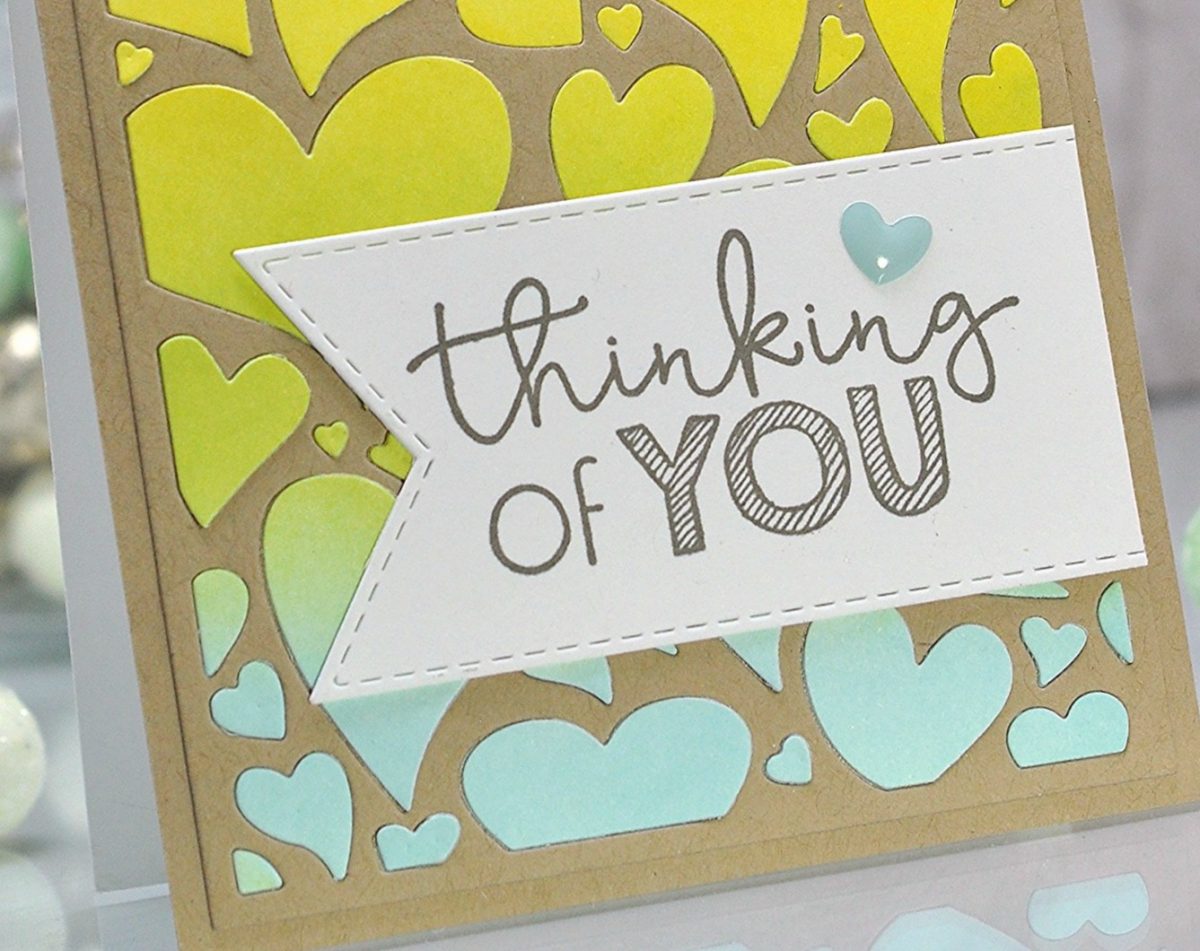
Start by creating a card base. For this card, I’m using the Floating Hearts Cutting Plate.
Cut a 5 ½ x 4 ¼” piece of Toffee Matched Cardstock. Adhere a large piece of double sided adhesive, such as Stick It. This is going to hold your frame and your hearts. Tip: You don’t want the adhesive to accidentally stick out beyond the frame so cut it just slightly smaller than 5 ½” x 4 ½” – slightly less than an 1/8” smaller.
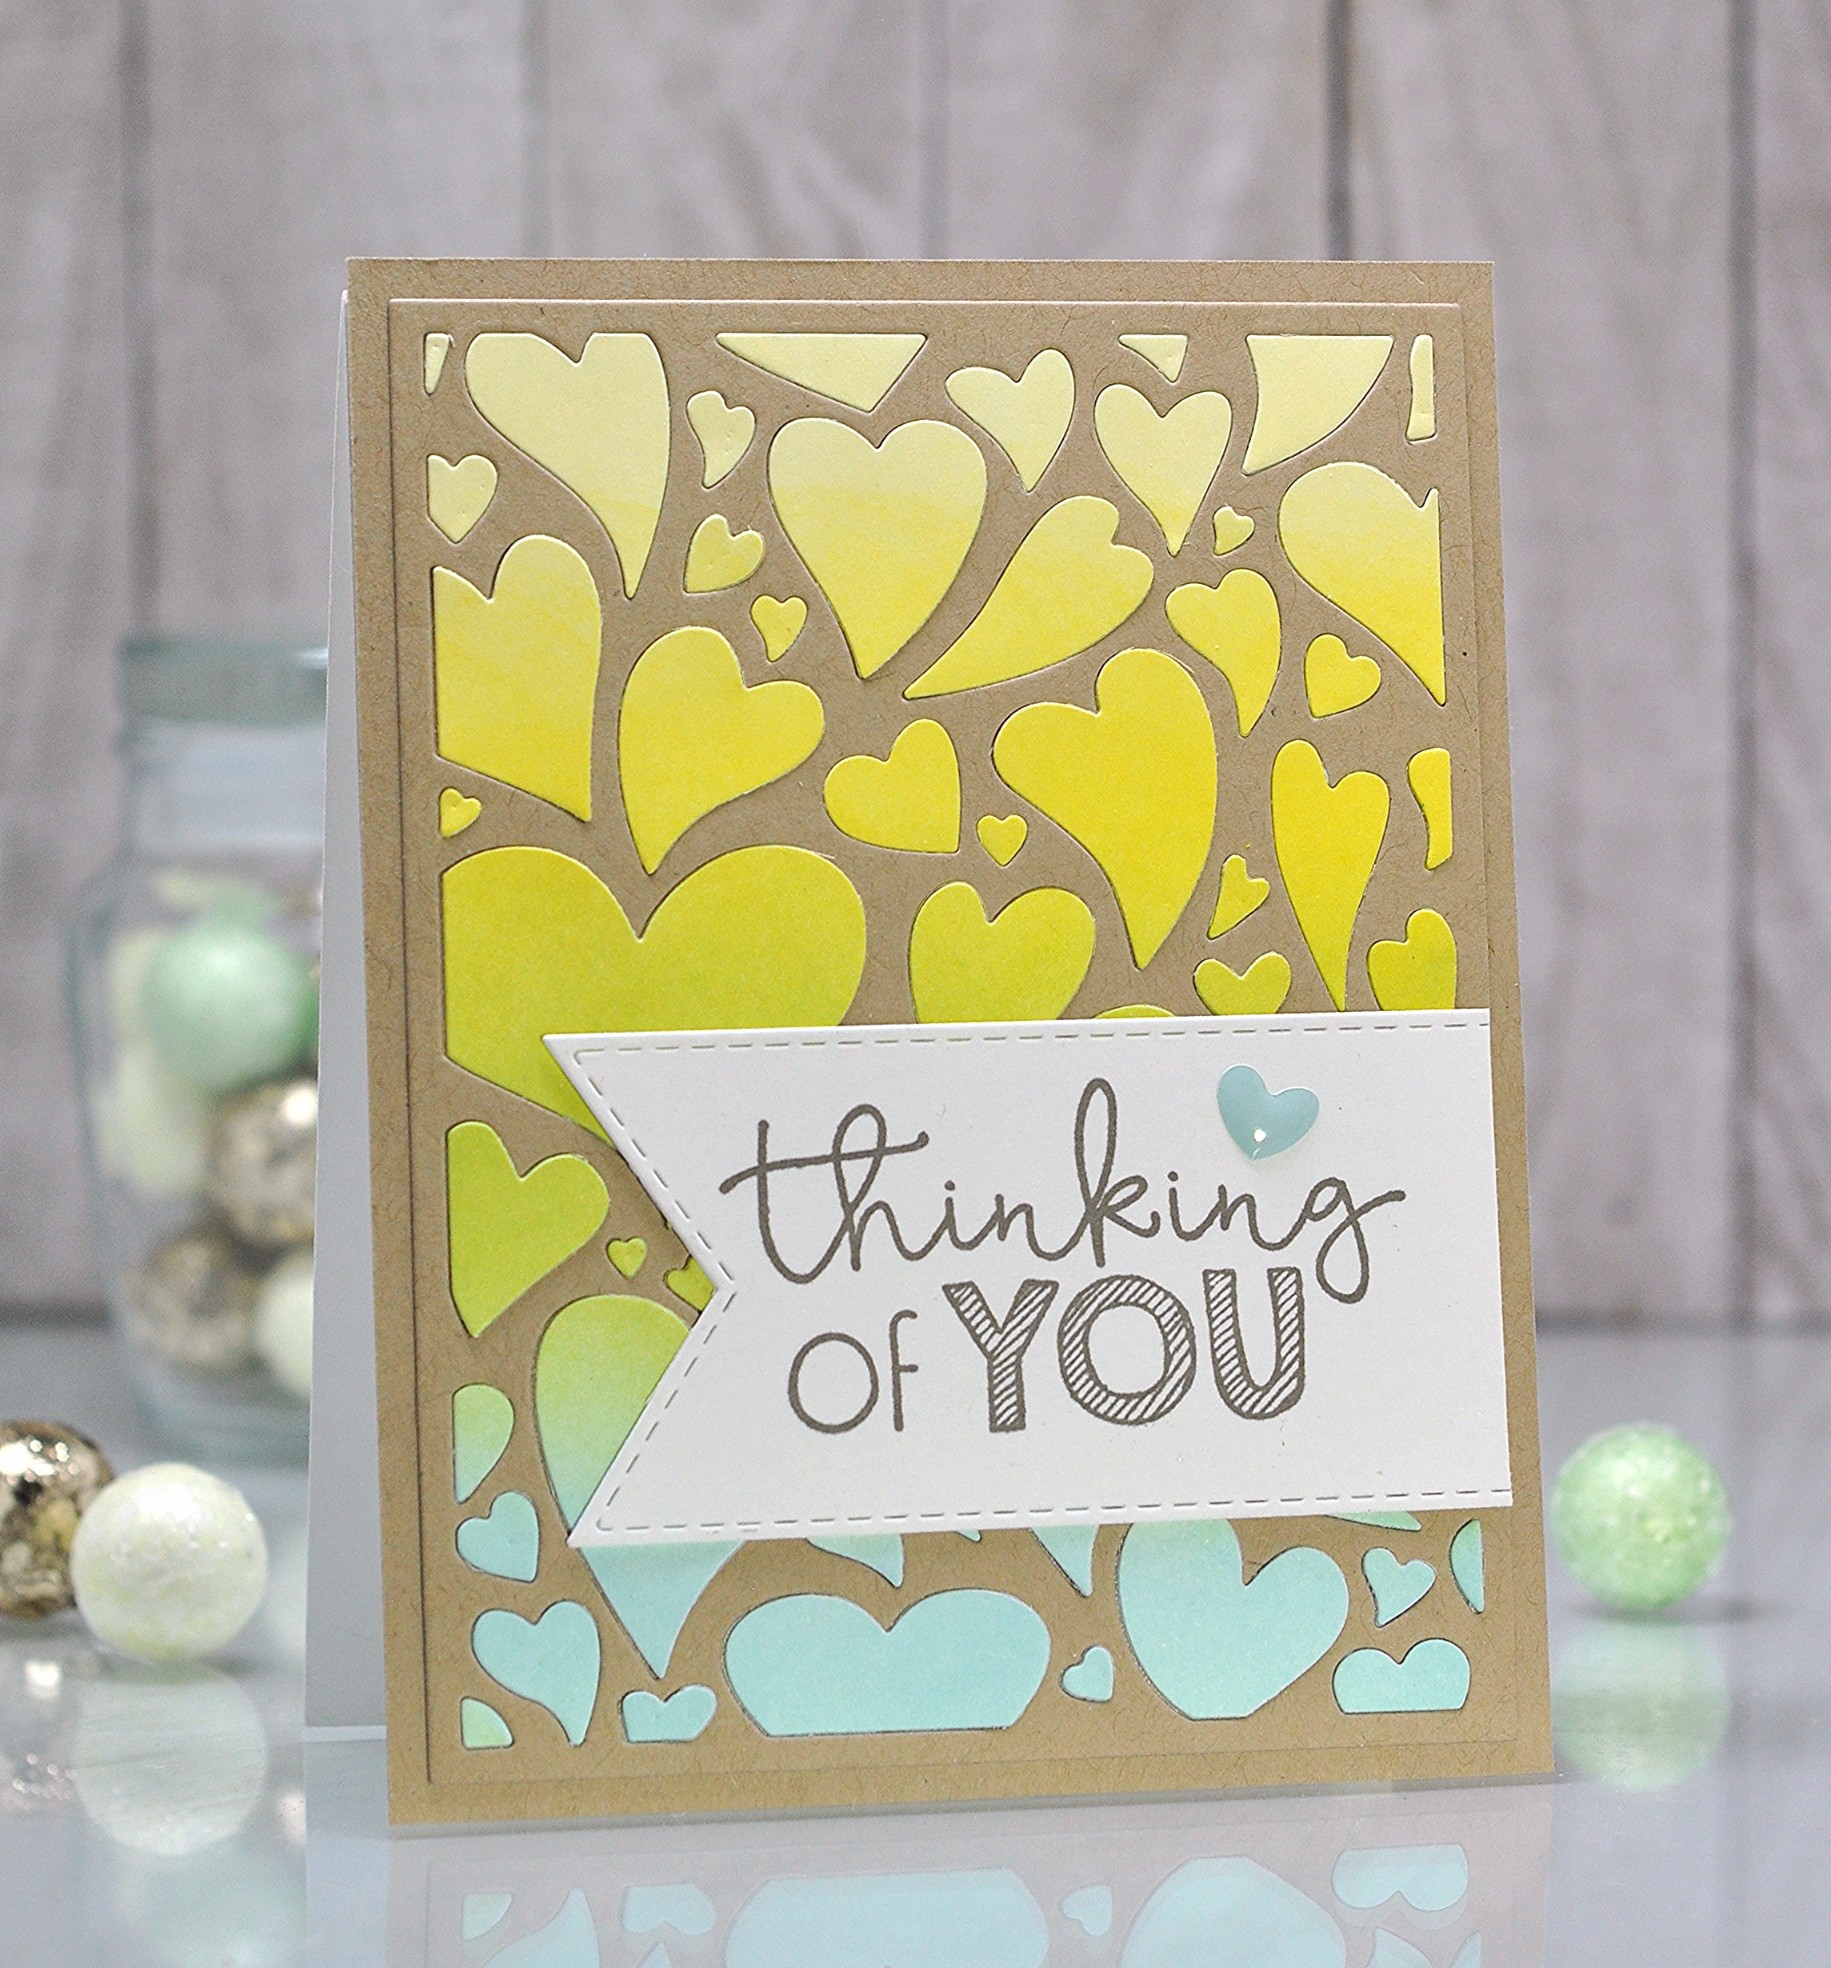
Aligning a piece of adhesive this big can be tricky. Peel up just one small corner of the adhesive backing. Lay the piece on the Toffee Cardstock starting with the side that still has the backing. Make sure it is aligned before pressing down on the adhesive piece. You can see in the picture above that the upper portion is aligned and I have a piece of the backing peeled back.
Press down on the corner to adhere, then lift the un-adhered portion until you can grab the piece that is folded back. Slowly pull it off from underneath, adhering the rest of the piece as you go.
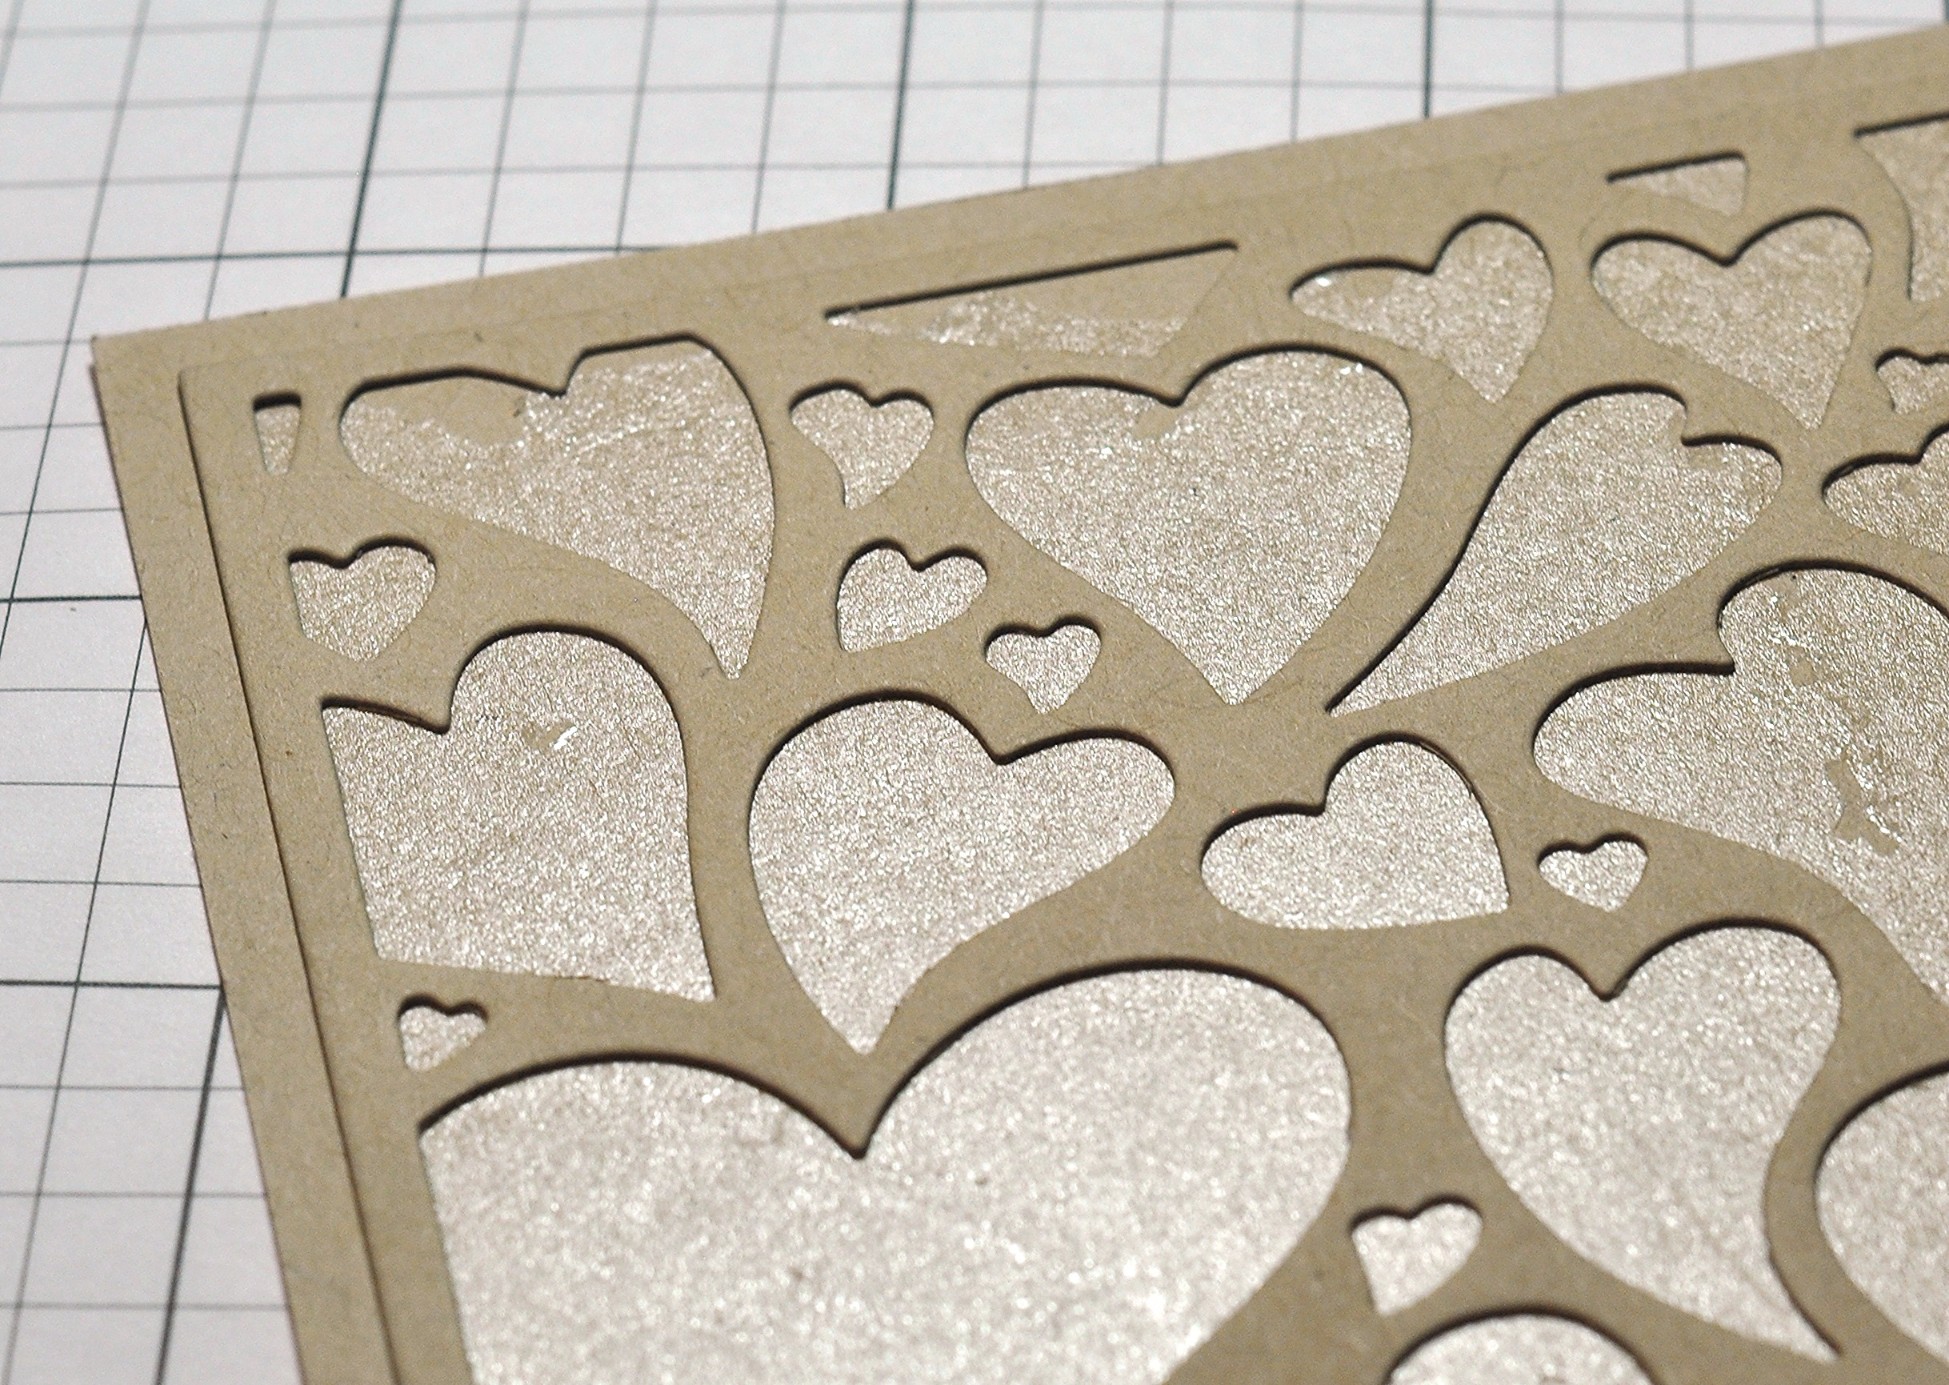
Using Toffee Cardstock, cut the frame with the Floating Hearts Cutting Plate. Adhere it to the top of the base. You can use the same technique for this. Pull off a corner of the backing, line up the frame, adhere the corner, then from the back slowly peel off the remainder of the backing. Set this piece aside.
You can see in the picture above that the frame is adhered and there is adhesive shining through the open hearts. This exposed adhesive is important because it will make inlaying very easy!
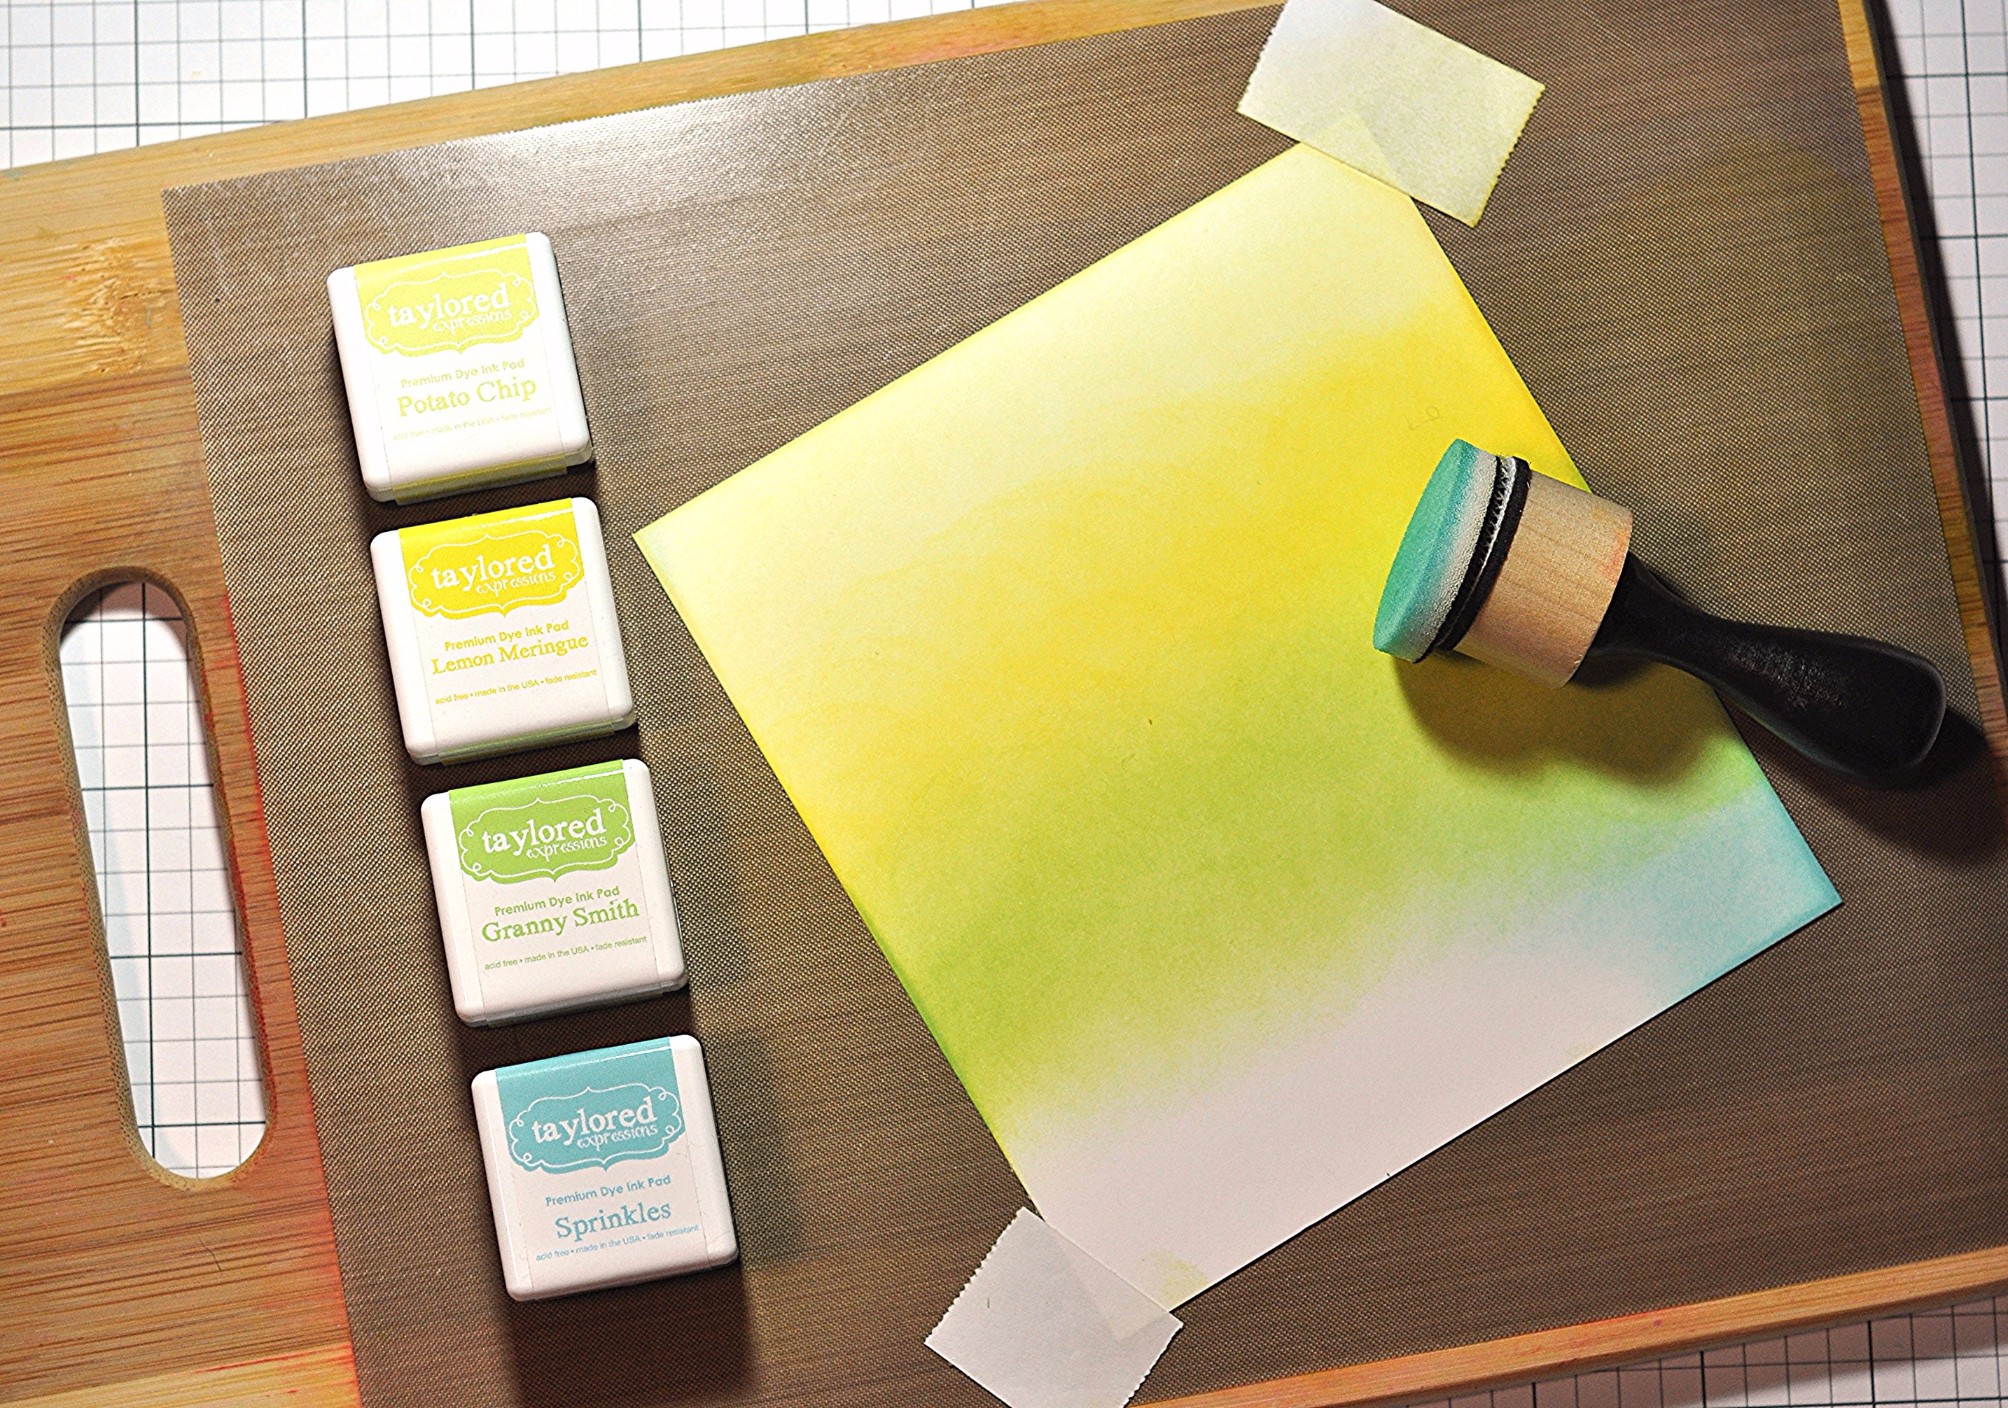
Next cut a piece of Sugar Cube Cardstock to 4 ¾” (or bigger) x 5 ½”. I cut it slightly bigger on the sides so that I can use Washi or temporary tape while I am sponging on the color to help hold the cardstock in place as I sponge.
With a Mini Ink Blending Tool (or any sponging tool of your choice), apply Potato Chip Ink at the top of the panel. Use a swirling motion and a light touch so that you don’t get any ink lines from the applicator. Then add Lemon Meringue Ink, Granny Smith Ink and Sprinkles Ink.
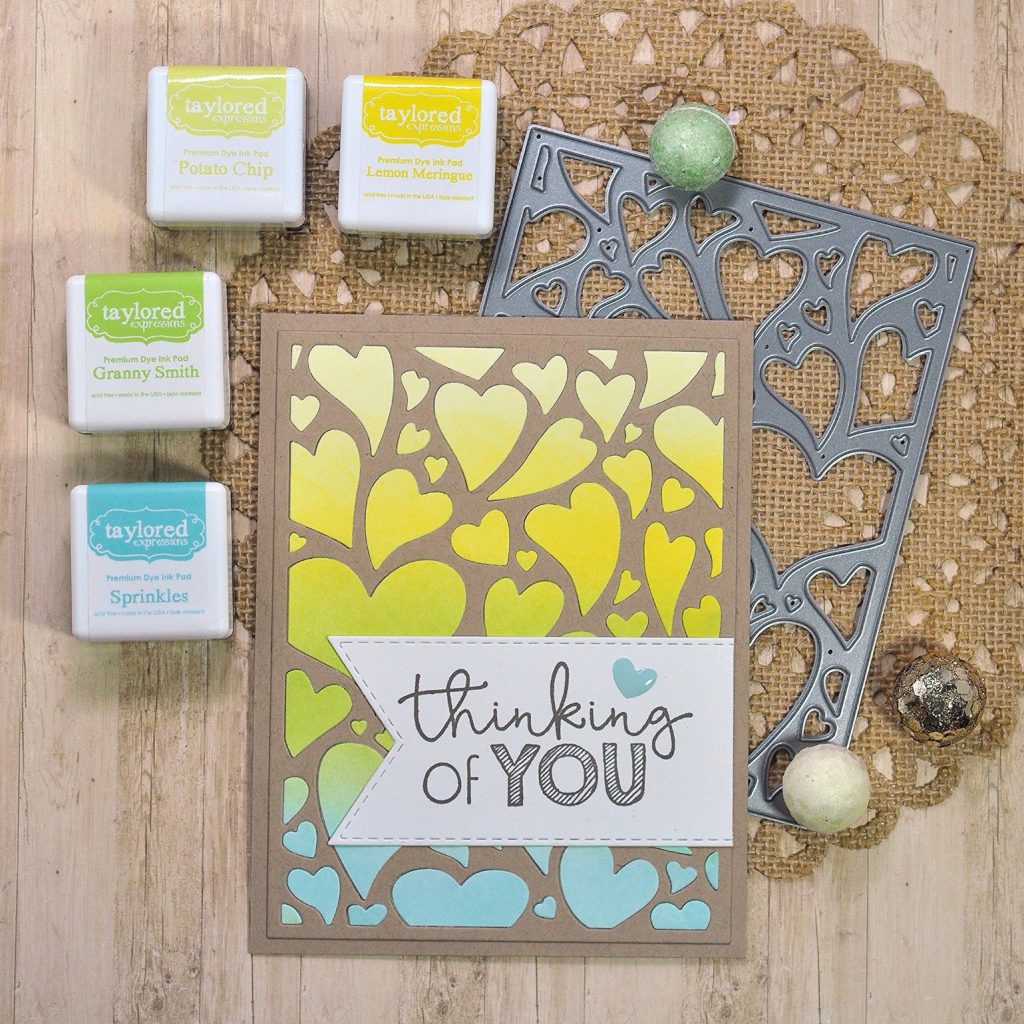
When your panel is colored to your liking, use the Floating Heart Cutting Plate to cut the hearts – DO NOT remove them from the die. Line the plate with the sponged cardstock piece intact on top of the Toffee base; you can feel it “click” in when it’s exactly lined up.
Push each of the pieces out of the plate onto the base. For the smaller pieces, I used a paper piercer–but use caution and don’t push too hard or you’ll end up with a hole in your heart! Slowly remove the die and admire your beautiful piece! (You might have to manually apply pieces that stuck in the die, but just a few.)
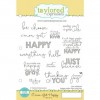
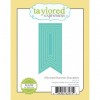
Stamp your sentiment on Sugar Cube using Mocha Ink. Die cut with the appropriate-sized Stitched Banner Stacklet and adhere to your card. Add one more little heart with an Enamel Shape and you are done!

Thanks so much, Kim, for sharing this wonderful Cutting Plate technique with us! I hope all of you will give this a try. Join me tomorrow as I share more Creative Cutting Plate techniques and tips! Have a joyful day!