
Jan 03, 2019
Get Creative With Copics & Coloring Die Cuts
Hey, crafty friends! I’ve been loving the Copic inspiration and information that has been shared on the TE blog over the last few weeks! I learn something new with each post. So I’m curious, how do you keep track of new ideas, inspiration,crafty tips, tricks, and techniques you want to try? I like to keep a journal of ideas and I even add in samples that I have done as well. Sometimes when I am having trouble coming up with ideas for a project, I flip through my journal for instant inspiration! If you’re like me, you’ll definitely want to grab your crafty journal to record today’s tips!
Before we get to an inspiring tutorial from Cindy Lawrence, I want to make sure you’ve heard the news. Copic marker prices increased by $1 per marker on January 1st (but not until Jan. 7th at the TE webstore!). We want to make sure that you are able to get started with Copics (or continue adding to your collection) before the price goes up! When you order 5 or more Copic markers now through January 6, 2019 you’ll receive FREE U.S. shipping (Coupon Code: STOCKUP) or $5 off shipping for international orders (no coupon code necessary).

Today, we are revisiting a Copic coloring tutorial from the amazing Cindy Lawrence. Cindy originally created this project back in 2016, but it’s simply too good not to share it again (and I know we have lots of new readers since then!). Cindy is going to share how to use Copic markers to shade a plain white die cut sihouette using our In the Garden die cut. After learning from Cindy’s tips and tricks, you’ll be looking at your die collection with new eyes!
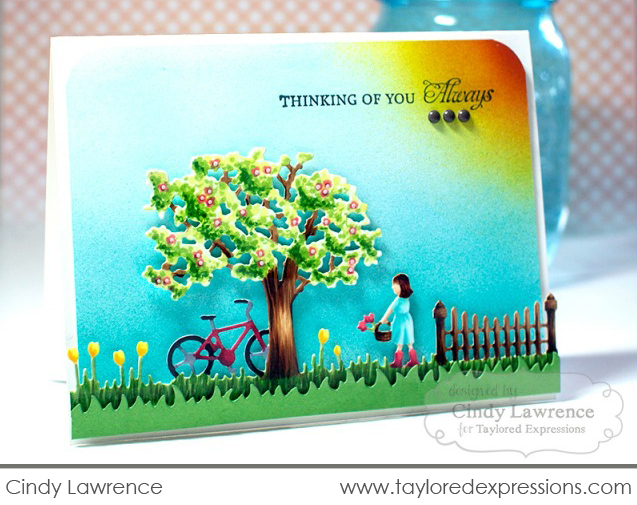
From Cindy: “Spring is on the horizon, my friends! If you live in a cold climate like I do, this is very happy news indeed. Fresh green grass, buds on the trees, warm sunshine, and flowers blooming all add up to a big pile of happiness in my book! At first glance, you can easily see that TE’s In the Garden die would make stunning and quick cards in the silhouette style. However, since I absolutely love to color, I decided to tackle a full-color creation with the die.”
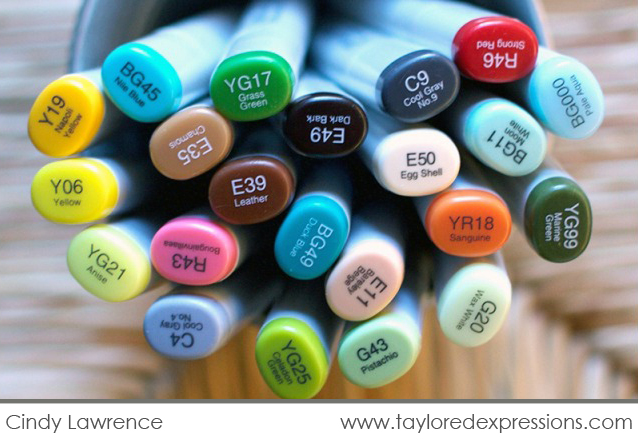
Here’s a look at the Copic marker colors that Cindy used for this project. Now let’s get started and learn how to color this die cut!

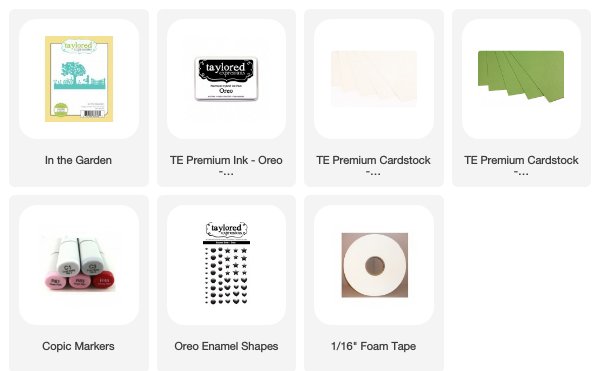
First, die cut the In the Garden die from a piece of Sugar Cube cardstock. The Sugar Cube cardstock is compatible with Copic markers and will allow you to get the perfect saturation of colors for a beautiful blend.
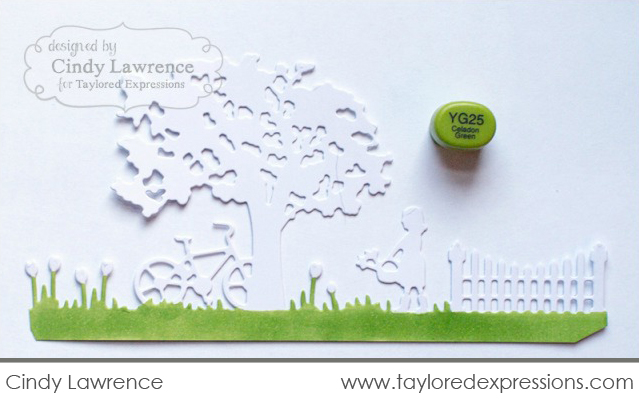
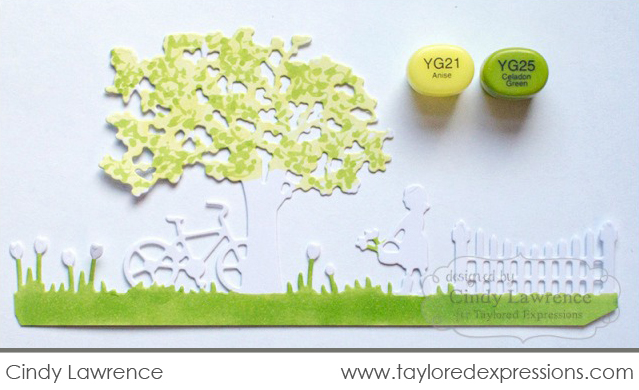
Color in the grass and flower stems with the YG25 marker. Instead of adding texture to the grass with the markers, you can layer a grass die cut over the top of it like like the Wispy Grass Border.
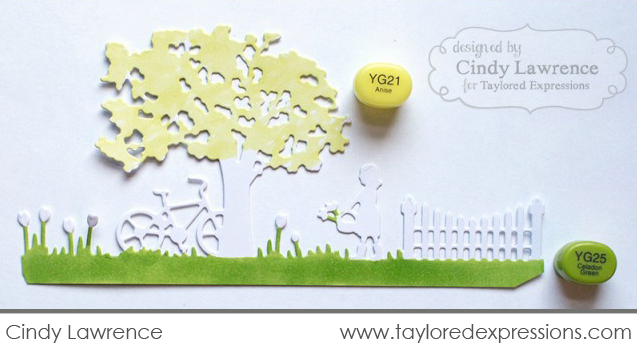
Color the tree leaves with the YG21 marker.
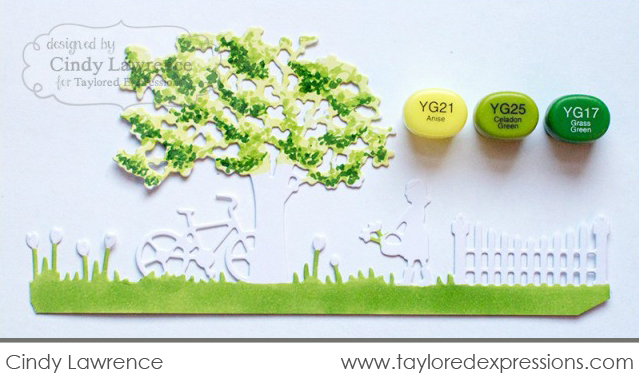
Before you start shading any image, you need to decide where your light source is coming from. Cindy chose the light to come from the upper right side of her project and shaded accordingly. She added the shadows along the side of each section that is furthest away from the light source.
On the tree leaves, “scribble” a bit of the YG25 color and then a smaller bit of the YG17 color.
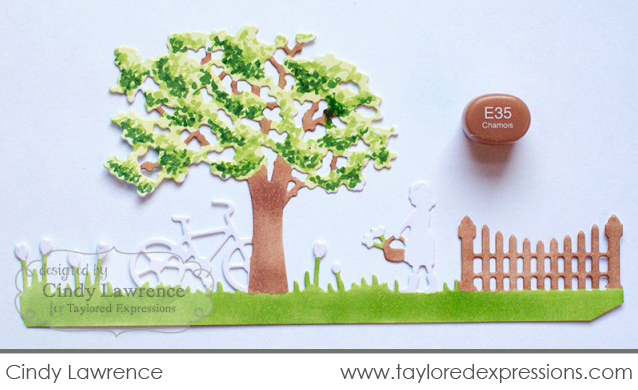
Color the tree trunk, fence, and basket with the E35 marker. The E35 color is the lightest shade of brown that Cindy used on her project and you always want to color the lightest shade first. It’s easy to add darker color, but more difficult to take color away if you start too dark!
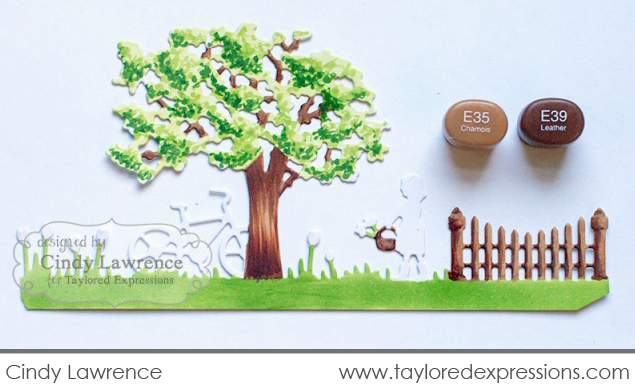
Next, add flicks of the E39 to create texture and shadows on the tree trunk, fence, and basket. Don’t forget where your light source is coming from!
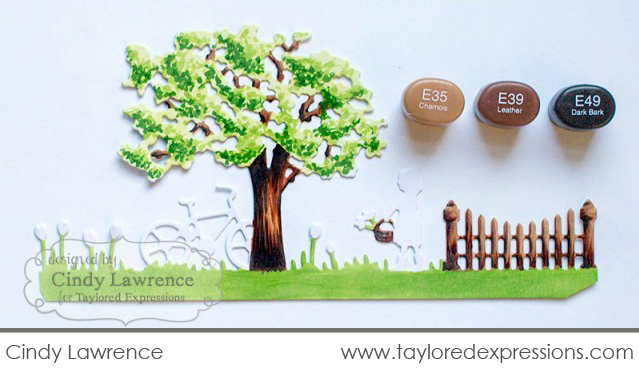 Finally for the browns, add in E49 for the darkest contrast.
Using the same light to dark method, color in the bicycle, flowers, and girl with Copic markers. When you are coloring the girl (or other people images) color the skin first so that the darker colors of the hair and clothes don’t muddy up the face if they get smudged a bit.
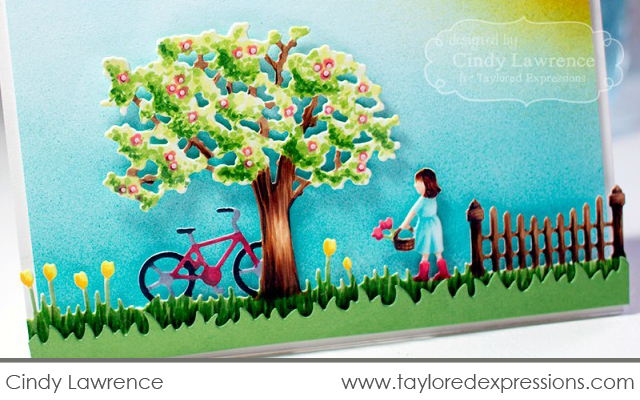
The flowers in the tree were added with the R43 and R46 markers. Add a dab of Copic Opaque White for the flower centers.

Cindy used the Copic airbrush system to create her background. She began with a layer using the BG45 marker, the lighter color, and then added BG49 to the bottom edge. She added the sunshine using the colors Y06, Y19, and YR16.
If you don’t own a Copic airbrush system, you can easily create a background using ink and blending sponges, ink and stencil brushes, or doing a watercolor wash with liquid watercolors.
Cindy finished up her card by adding the background to a Sugar Cube card base, adding a stamped sentiment with Oreo ink, and a few enamel dot embellishments.
Wasn’t that die cut coloring amazing? I am inspired to go through my collection of dies to see what shapes would be fun to color with Copics! Make sure that you stop by again tomorrow for one more day of Copic inspiration – you won’t want to miss it!
Did you know that you can subscribe to our blog and get our posts right in your inbox? Just sign up right HERE – that’s all there is to it to make sure you don’t miss any of our crafty inspiration!
