
Jun 23, 2020
Stitching Up Birthday Wishes!

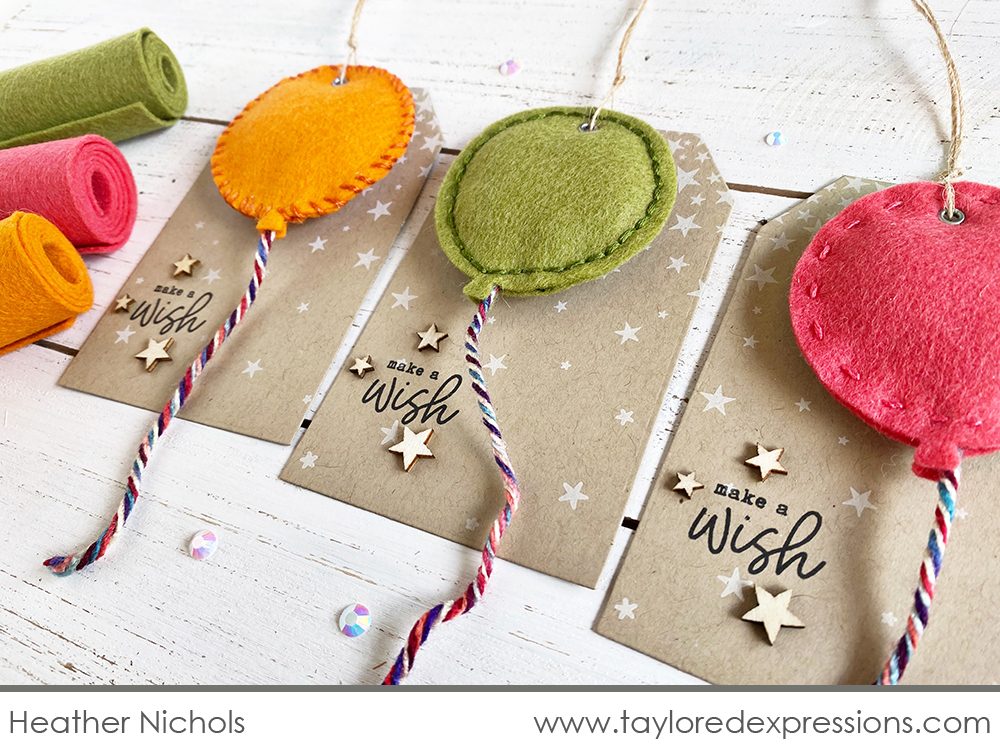
Hey, crafty friends! Do you have supplies in your stash that your haven’t visited for a while? Or maybe you are a collector – like me – who hoards certain supplies? One of those supplies for me is felt. I LOVE wool felt and having all those pretty rolls of color on my shelf! But, the other end of that is how enjoyable those supplies are to actually use. I sat down to create with felt to make this set of birthday balloon tags and I love how they turned out, plus I loved the actual time spent creating with the felt.
Today, I am sharing with you how I created these felt balloon tags as well as a few options for stitching with felt. Embroidery and sewing have long been other crafty loves of mine and I always love when different parts of my crafty world collide!
But, before I get to the balloon tags, I want you to know about the felt promotion happening now in the Taylored Expressions webstore.

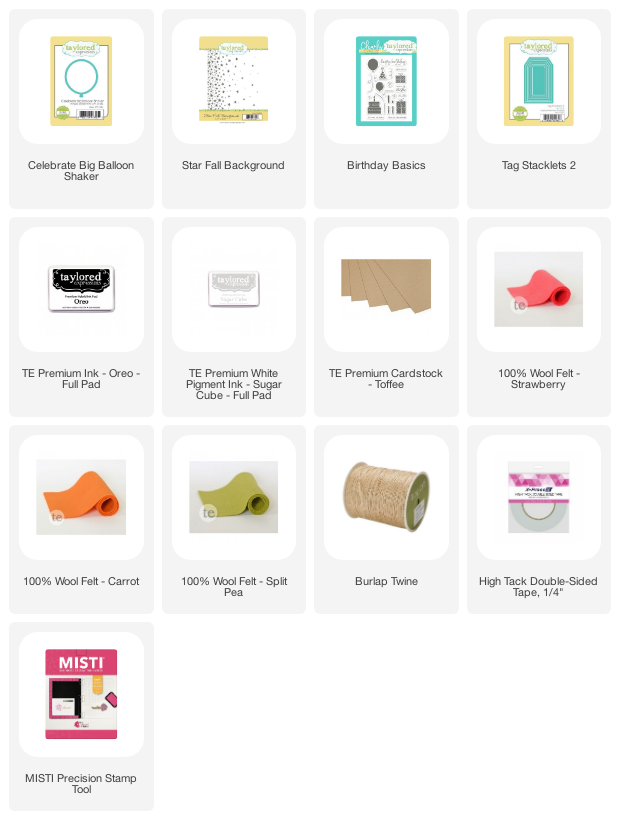
Now through Sunday, June 28th, buy any 5 rolls or packages of felt, get one of equal or lesser value FREE (discount applied in cart). This offer is good on 100% Wool Felt (rolls) and 100% Wool Designer Felt (all styles/designs). We are unable to give rain checks for out of stock felt for this promotion. Click below to stock up and save now!

Watch the video below to see how I created the balloon birthday tags pictured at the top of this post:
In the video, I briefly share 3 basic embroidery stitches (backstitch, whip stitch, and running stitch) to stitch together the 3 puffy balloons that are die cut with the Celebrate Big Balloon Shaker die for my tags. There is an abundance of information, tutorials, and videos on how to do these basic embroidery stitches (and more!) out there on the internet if you want more information or direction.
I use an embroidery needle to do my stitching. It has a sharp point and a large enough eye to accommodate the embroidery thread that I use to do my stitching. I share the embroidery floss colors (DMC) I use in the video for my tags, but you can use whatever color that you want to do your stitching.
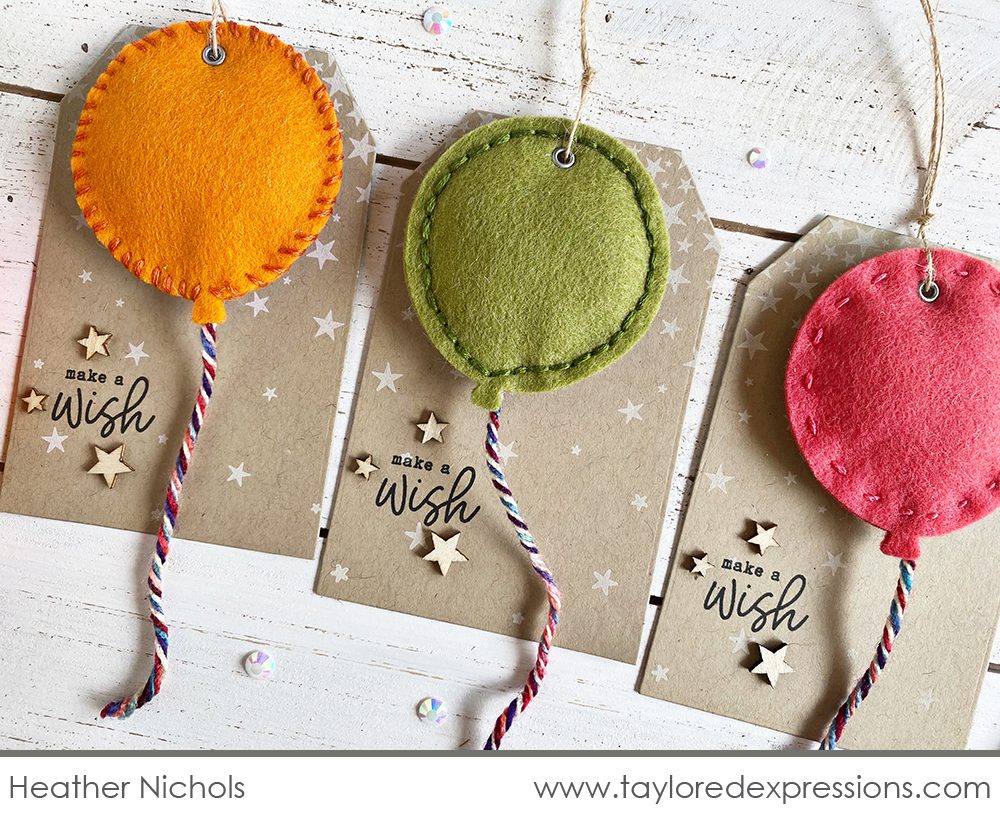
I set an eyelet into the top of each balloon and used that to attach the balloons to the tag bases with burlap twine. The gift recipient could also use the balloon as an ornament later!
The tag bases are die cut from Toffee cardstock using the largest Tag Stacklets 2 die. The background is stamped with the Star Fall Background using Sugar Cube ink and the sentiment is from the Birthday Basics stamp set and is stamped in Oreo ink.
Which stitched look do you like best? Backstitch, whip stitch, or running stitch?

One last thing before I go today…

Taylor will be LIVE on the Taylored Expressions Facebook Page today at 1PM Central Time. Taylor always has something fun to share and we love being able to connect with you! I hope you will join us!
Thank you for stopping by the TE blog today. There’s more felt inspiration coming your way later this week from Taylor that I can’t wait to share. Stop by this Thursday to check it out!
Did you know that you can subscribe to our blog and get our posts right in your inbox? Just sign up right HERE – that’s all there is to it to make sure you don’t miss any of our crafty inspiration!
