Jun 15, 2021
Let Your Summer Sparkle! NEW Products Available NOW!
Hey, crafty friends! It’s Heather here today and it’s release day! All of the new products that we introduced yesterday are available RIGHT NOW in the TE webstore! What new product caught your eye? I would have to say my favorite is all of the new glitter colors! I am definitely a glitter girl and can never have enough sparkly options. I also really love the new Stencil & Clear Combo sets. This new pairing of products is so much fun and there are so many possibilities for creating different looks – just take a look at the TE Creative Team projects for a wide range of inspiration!
Today on the blog, I have so much to share! First up is a video from me sharing a project using the new sunglasses themed products and GLITTER! Then, sit back and scroll through more inspiration from the TE Creative Team.
Make sure to take advantage of the promotion happening in the TE webstore for this release:
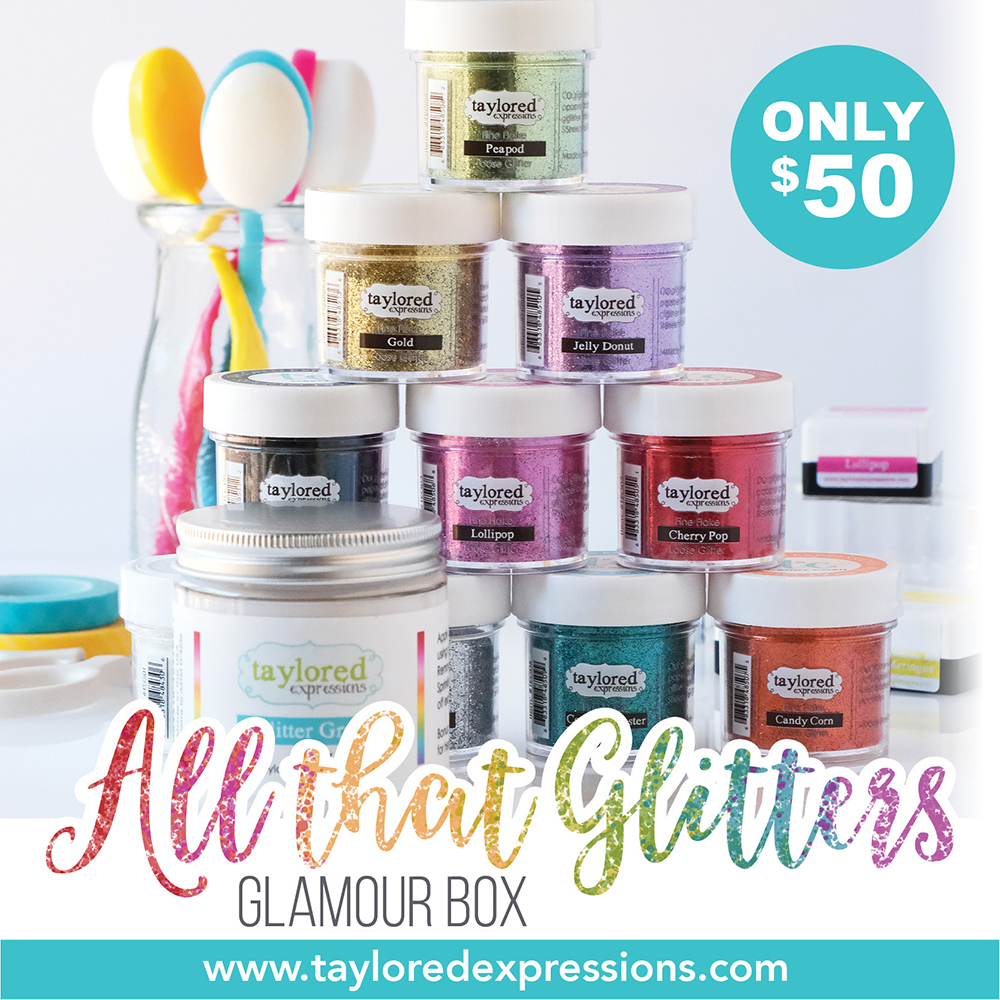
Get the glitter party started with the TE All That Glitters Glamour Box! This bundle is a $60 value for $50 and is available now through Sunday, June 20th. The TE All That Glitters Glamour Box includes: 10 – 1 oz jars of fine flake glitter (Lollipop, Cherry Pop, Candy Corn, Peapod, Cookie Monster, Jelly Donut, Pearl, Silver, Gold and Oreo) + 1 – 4 fl. oz jar of TE Glitter Grab. The discounted bundle price is only available through Sunday, June 20th.
Click below to check out the new products in the TE webstore and keep scrolling for the inspiration!
- Tune in for new product inspiration: this release includes 24 new products; new stamps, dies, 2 new Stencil & Clear Combo sets, new On the Block & Building Blocks collection additions, TE exclusive glitter in 10 (!) new colors, and our new Glitter Grab paste!
- Our TE blog posts this week (Monday, Tuesday, & Thursday) will feature a new how-to tip, technique, or process video.
- Receive FREE shipping on orders of $50 or more in the United States!
- Earn a free, exclusive stamp with purchases of $100 or more. CLICK HERE for more information.
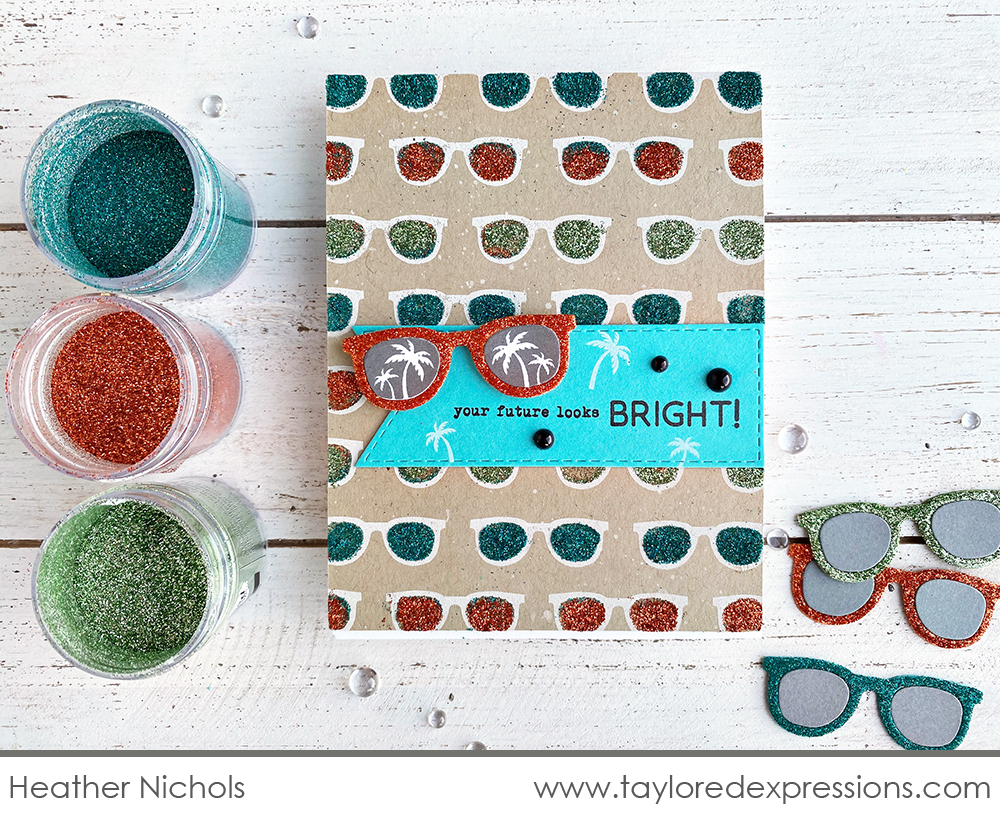
I went all out with glitter on this sparkly summer card! I did a few different techniques to add glitter to my project and I have a few tips that will help you along the way when you include glitter on your own crafty projects. Watch the video below to see how this card comes together:
In the video, I show you how I created the glittery sunglasses for both the background and the larger pair on the card. For the background, I used the Sun’s Out Background stamp & stencil with Glitter Grab paste to adhere the multiple glitter colors. For the larger pair of sunglasses cut out with the Shades of Summer die collection, I use TE Sticky Sheets with the die cut to do a glitter dipping technique. The patterned lenses on the sunglasses and sentiment are part of the Shades of Summer stamp set.
Here’s a closer look at the new products that I used on my card:
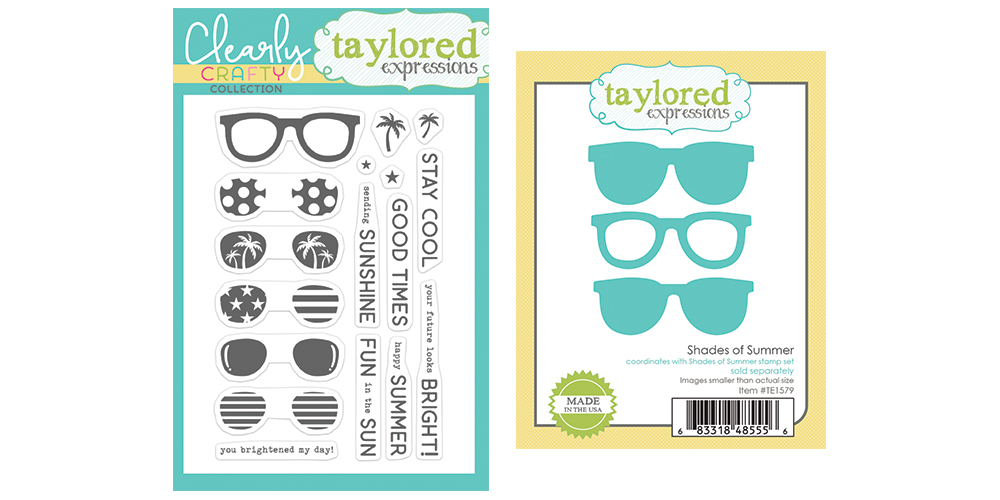
The Clearly Crafty Shades of Summer stamp set features a pair of sunglasses along with five different lens fills and sentiments for perfect summertime vibes! Cut out the sunglasses or die cut your frames with the coordinating die collection.
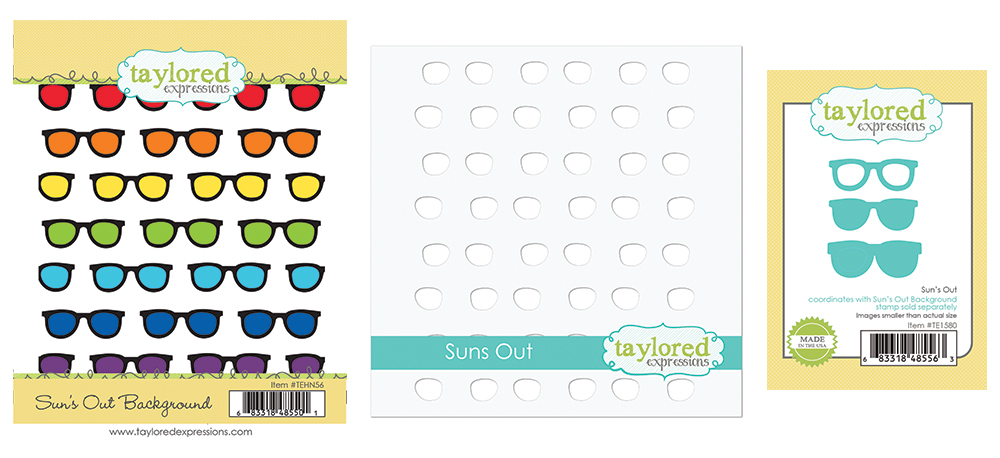
Create a coordinating background full of sunglasses with the Sun’s Out Background stamp and then use the coordinating Sun’s Out stencil to fill in the lenses using blender brushes, glitter paste, and more! Cut out the stamped sunglasses from the background or cut out tiny frames with the coordinating die collection.
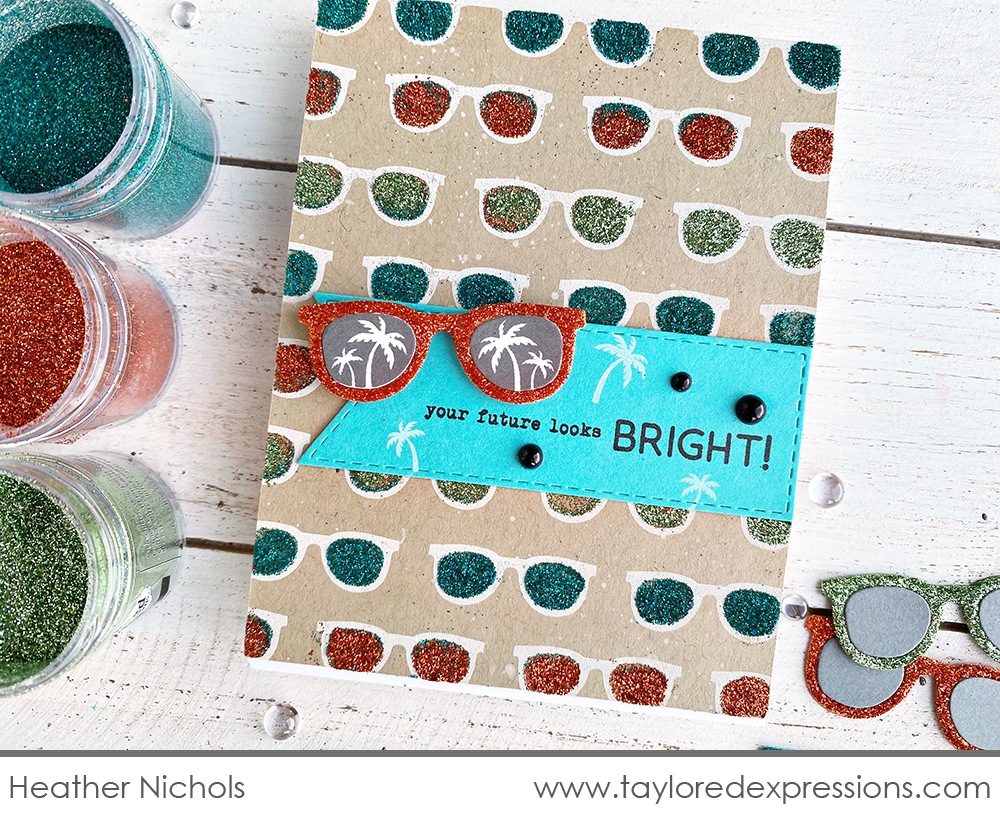
I love the tropical vibe that this card has going on and I loved being able to add all of the color using the new TE glitter! I stamped the Sun’s Out Background using Sugar Cube ink, added the lenses using the coordinating stencil with Glitter Grab paste, and then added the multiple colors of glitter. I did one color at a time, using the Nuvo Craft Spoon to help control where I wanted the glitter on the background. Watch the video to see my favorite method for cleaning up a glittery mess!
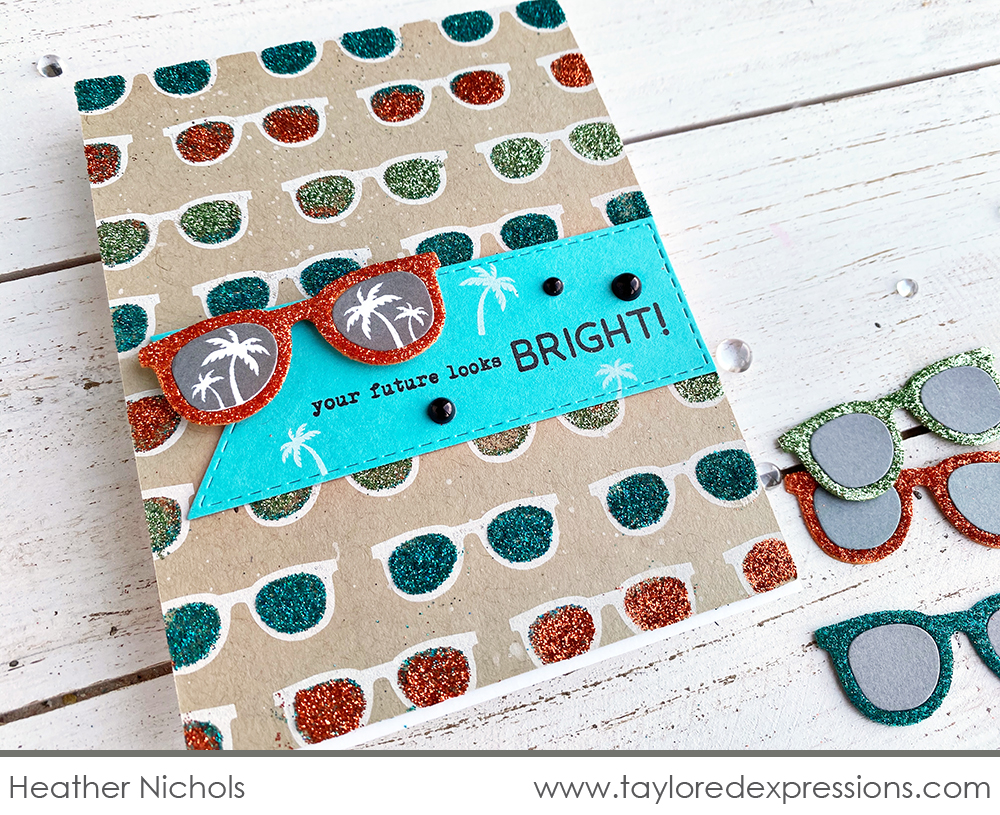
With the busy, glittery background, I needed a landing spot for the larger sunglasses and sentiment. I used a Stitched Banner Stacklets die cut out from Cookie Monster cardstock to stamp the sentiment and a few little palm trees onto and added it to the card with a liquid adhesive. Using a liquid adhesive is the best when adhering elements to a glittered background because other tapes and adhesives lose their stick when they get coated in glitter! Watch the video to see how I did a glitter dipping technique with the larger sunglasses frames and how I added the stamped palm tree lenses.
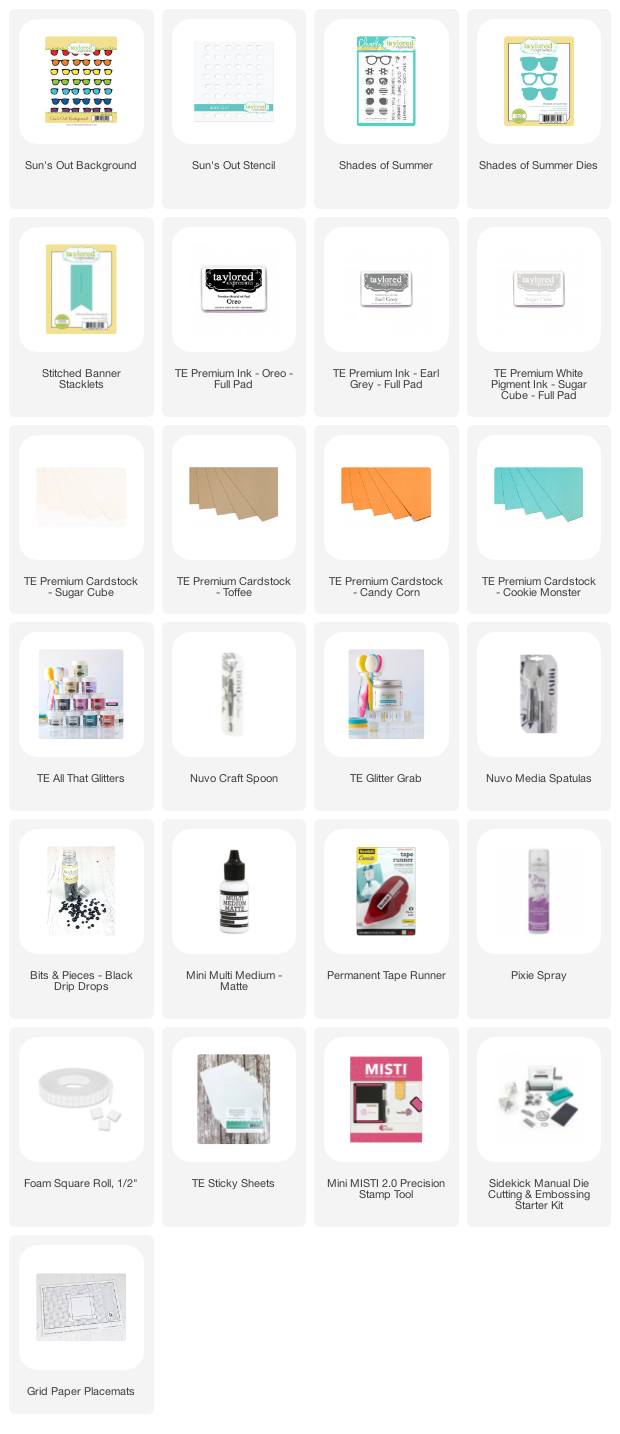
The list below includes all of the supplies that I used on this card:

Here’s more inspiration from members of the TE Creative Team as well as a closer look at a few more new products that are available to purchase today for our Summer & Glitter release!
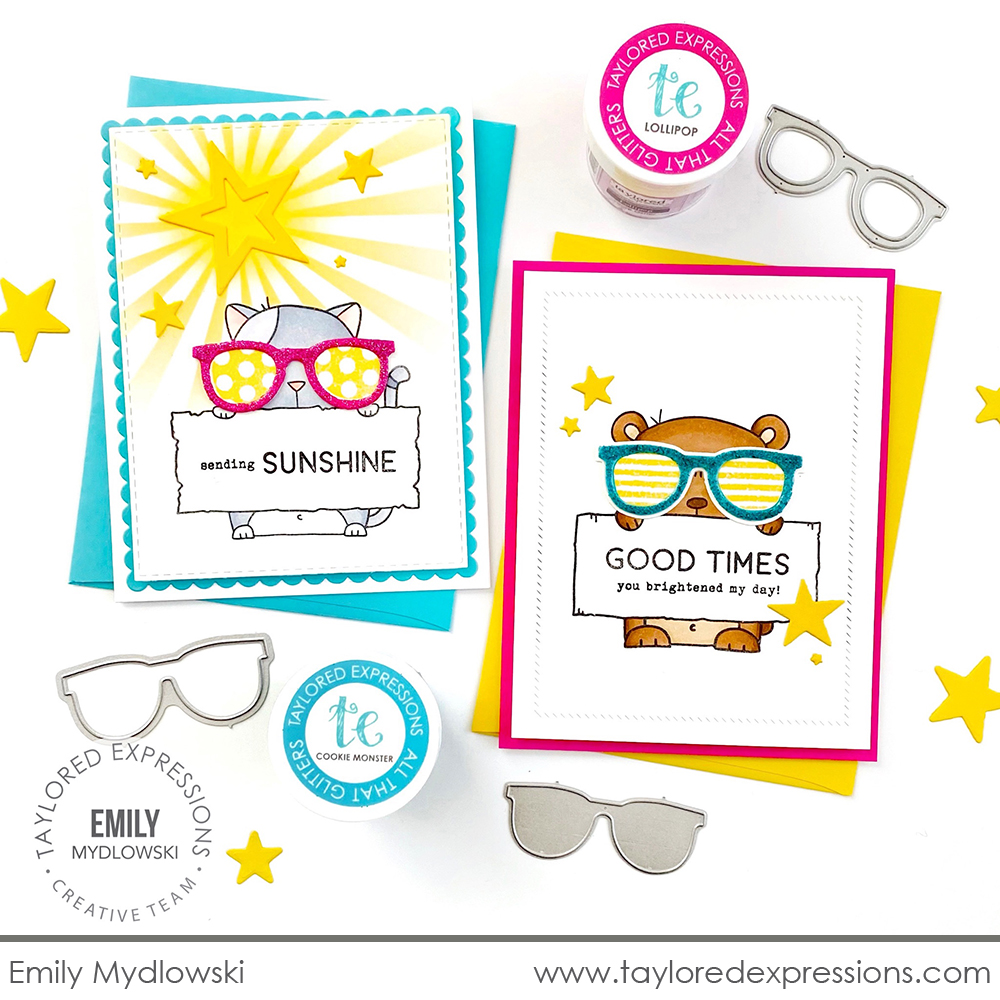
I love that Emily Mydlowski dressed up the Big Grumpy critters in sunglasses for summer! Emily created the sunglasses using the Shades of Summer dies for the frames and coated them in Lollipop and Cookie Monster glitter. She stamped the lenses using the Shades of Summer stamp set and added them to Big Grumpy and Big Grumpy Cat. The signs are stamped with sentiments using Oreo Ink and Emily dressed up the backgrounds on her cards using the Starstruck dies and added stenciling with the Here Comes the Sun stencil to one of them. And maybe it’s just the sunglasses, but Big Grumpy doesn’t seem… super grumpy on this pair of cards? Maybe Big Grumpy actually enjoys summer???
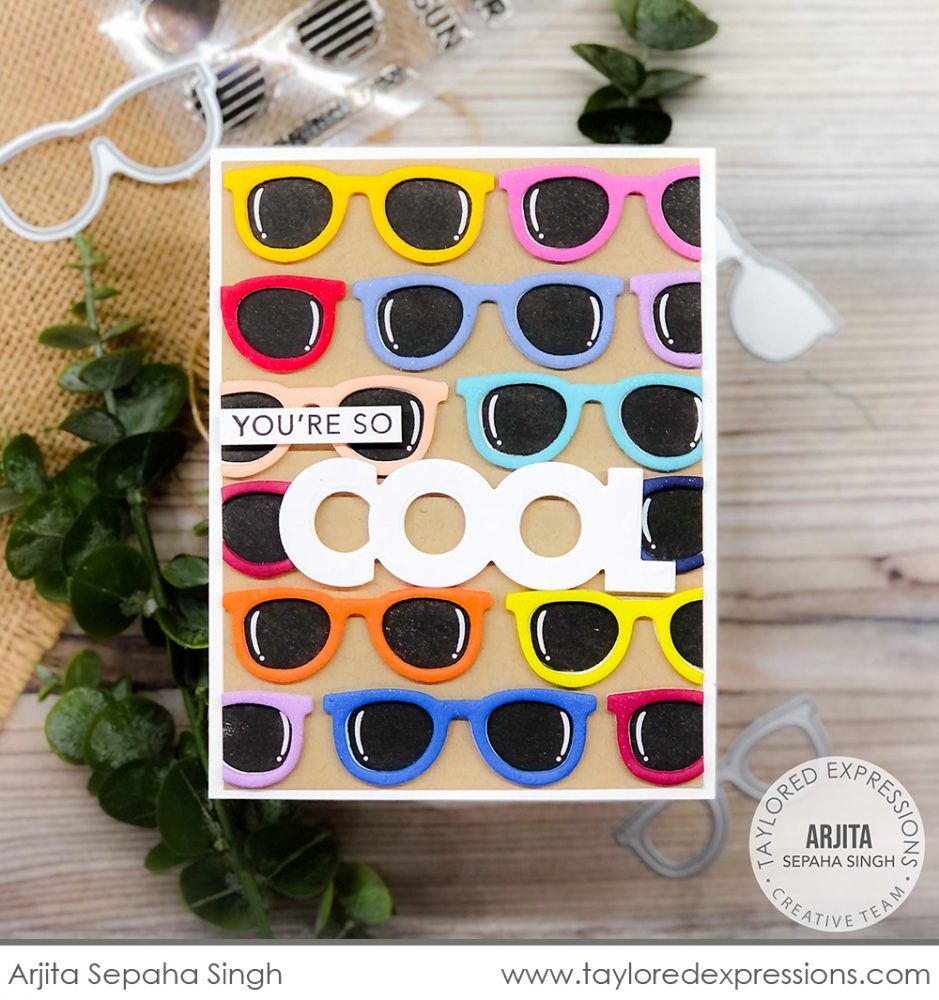
Arjita Sepaha Singh created a bunch of sunglasses in a rainbow of colors for this cool card! She die cut the sunglasses from a bunch of craft foam colors (you could use cardstock too!) using the Shades of Summer dies and stamped the lenses in Oreo Ink using the Shades of Summer stamp set. The sunglasses are attached to a Toffee cardstock background around the On the Block – Cool Shadow die cut. The sentiment is completed with the ‘you’re so’ phrase from the new Building Blocks – Cool Additions stamp.
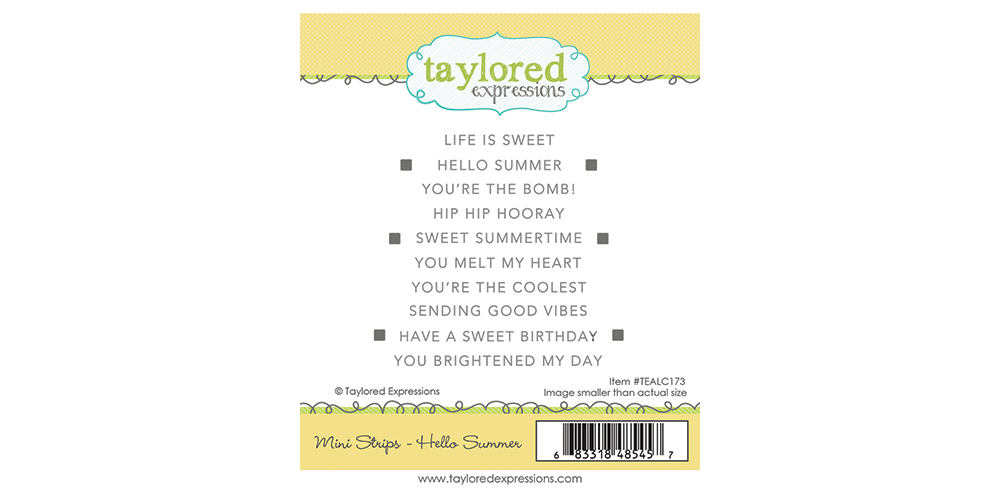
Stamp 10 sentiments that celebrate all things summer with the new Mini Strips – Hello Summer stamp. Use the sayings individually or combine them together for more possibilities! Cut all of the sentiments with one pass through your die cut machine using our innovative alignment guides with the coordinating Mini Strips or Mini Strips – Asymmetrical dies.
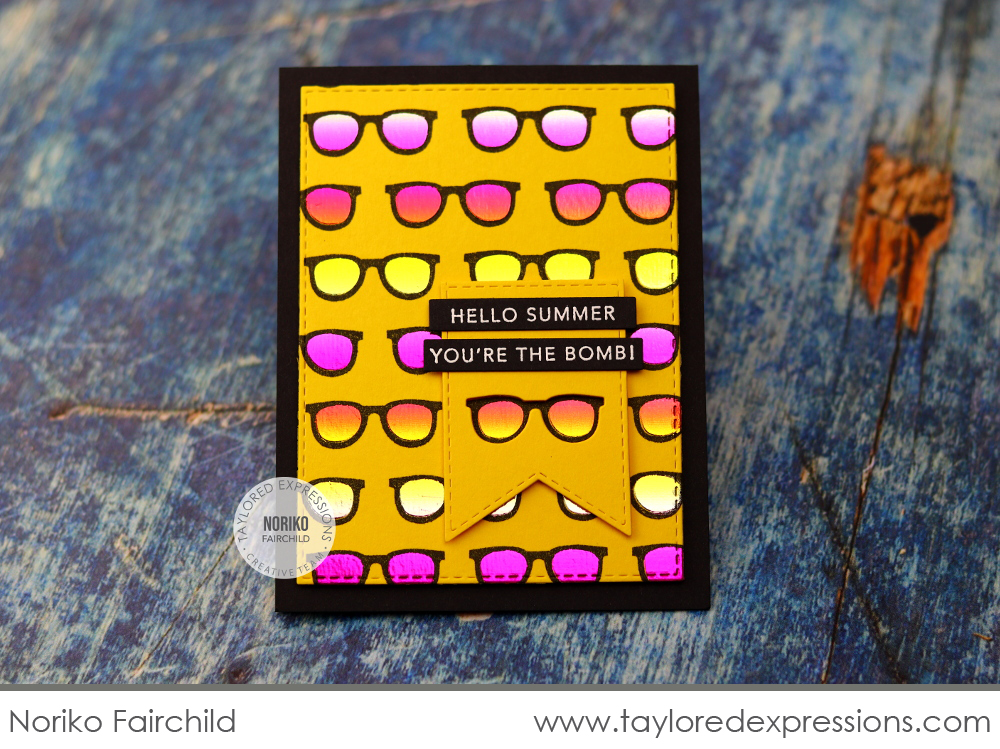
The awesome ombre look on this card by Noriko Fairchild is created with foil! Noriko stamped the Sun’s Out Background onto Lemon Meringue cardstock with Oreo ink, applied Glitter Grab paste through the Sun’s Out stencil to add the lenses, and then added the Deco Foil Transfer Sheet over the top once the Glitter Grab was dry. To add the single pair of sunglasses to the banner piece, Noriko die cut an opening with a Sun’s Out die and lined up the banner on the card to line up with the pair of sunglasses on the background – so clever! The sentiments on the banner are from the new Mini Strips – Hello Summer stamp and are embossed in white on Oreo cardstock.
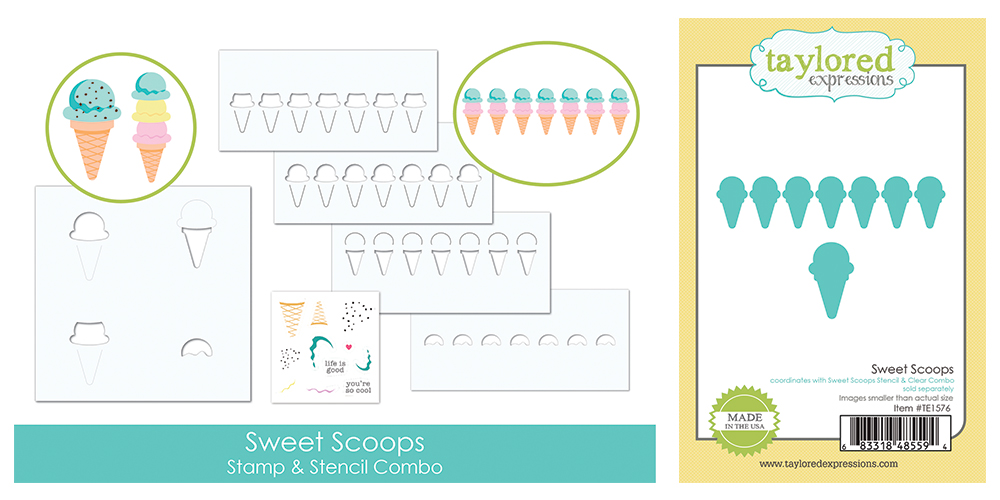
Ice cream cones are definitely a summer staple and you’ll love adding them to your projects using the new Sweet Scoops Clear Combo set. The set includes the option of a line up of smaller images as well as a larger image to use as a focal point on your projects. The Stamp & Clear Combo is perfect for using with your Bitty Blender Brushes to build the images and then add details with the clear stamps. You can also cut out the images using the coordinating dies. The die collection includes a die that will cut out the whole border of smaller images at once and one die for the larger image.
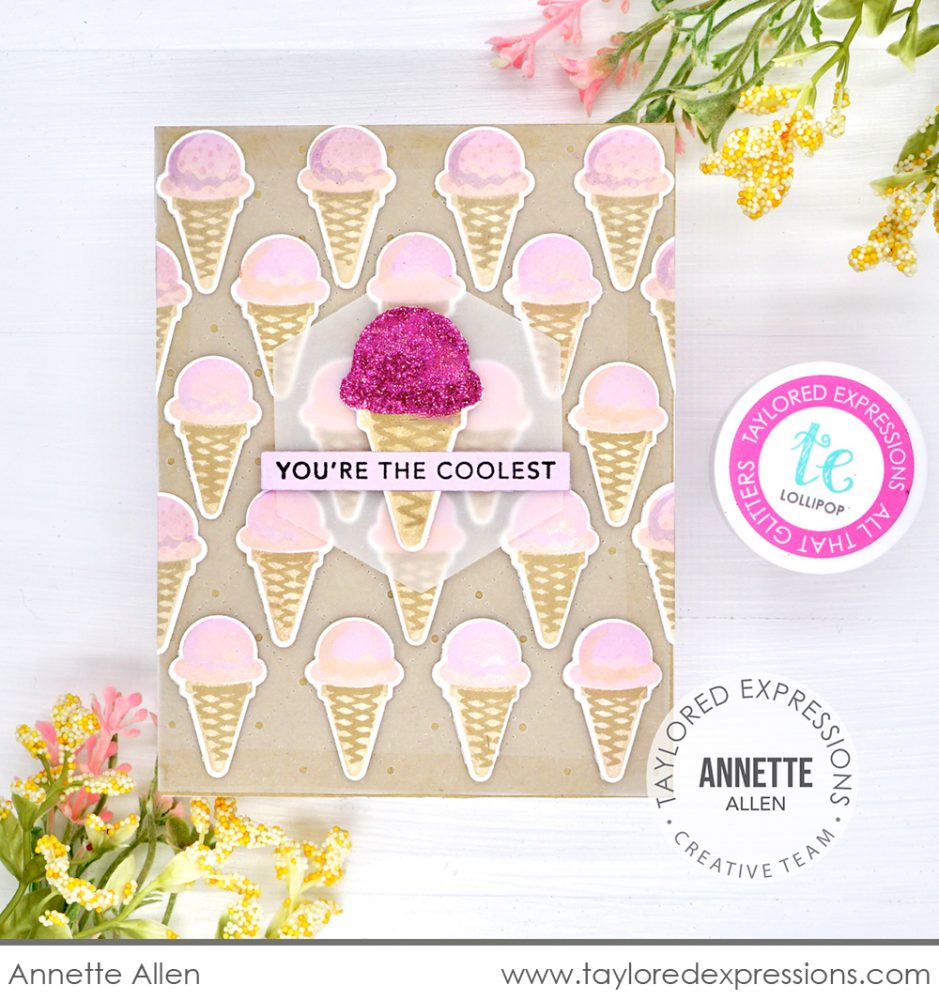
Annette Allen filled up the background on this sweet card using the small ice cream cones from the Sweet Scoops Stencil & Clear Combo set. The pink ink tones Annette used on the ice cream cones have me dreaming of strawberry ice cream! Take a closer look at the background and you’ll notice that the cones are on a layer of vellum die cut with the Pierced Lattice Cutting Plate. The diamond shapes coordinate with the pattern on the ice cream cones and adds a great texture to the project. Annette glittered up the larger ice cream cone with Lollipop glitter and it takes center stage on the card along with a sentiment from the Mini Strips – Hello Summer stamp.
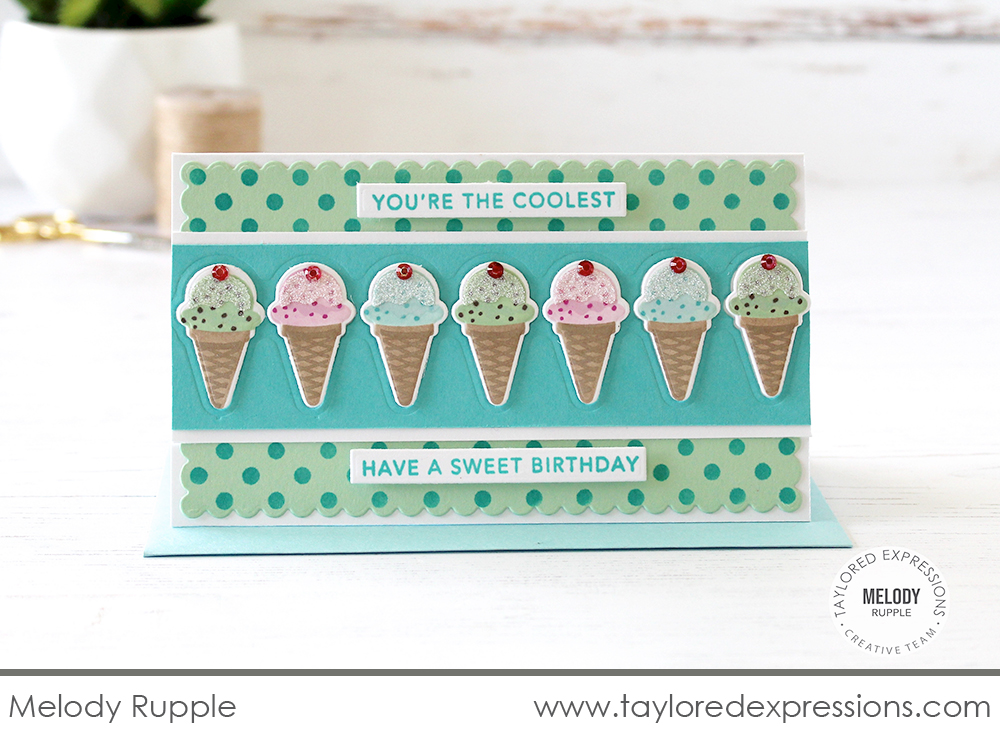
The whole vibe of this birthday card by Melody Rupple makes me think of a vintage soda shop! Melody stenciled and stamped the line up of smaller ice cream cones using the Sweet Scoops Stencil & Clear Combo set. I love the sweet details that Melody added to the cones like the glittered topping and red rhinestone cherries! The ice cream cones are added to a Cookie Monster cardstock strip and layered over a polka dot background stenciled with the Mini Slim – On the Dot stencil. The sentiments are stamped with Cookie Monster ink on Sugar Cube Cardstock using the Mini Strips – Hello Summer stamp.
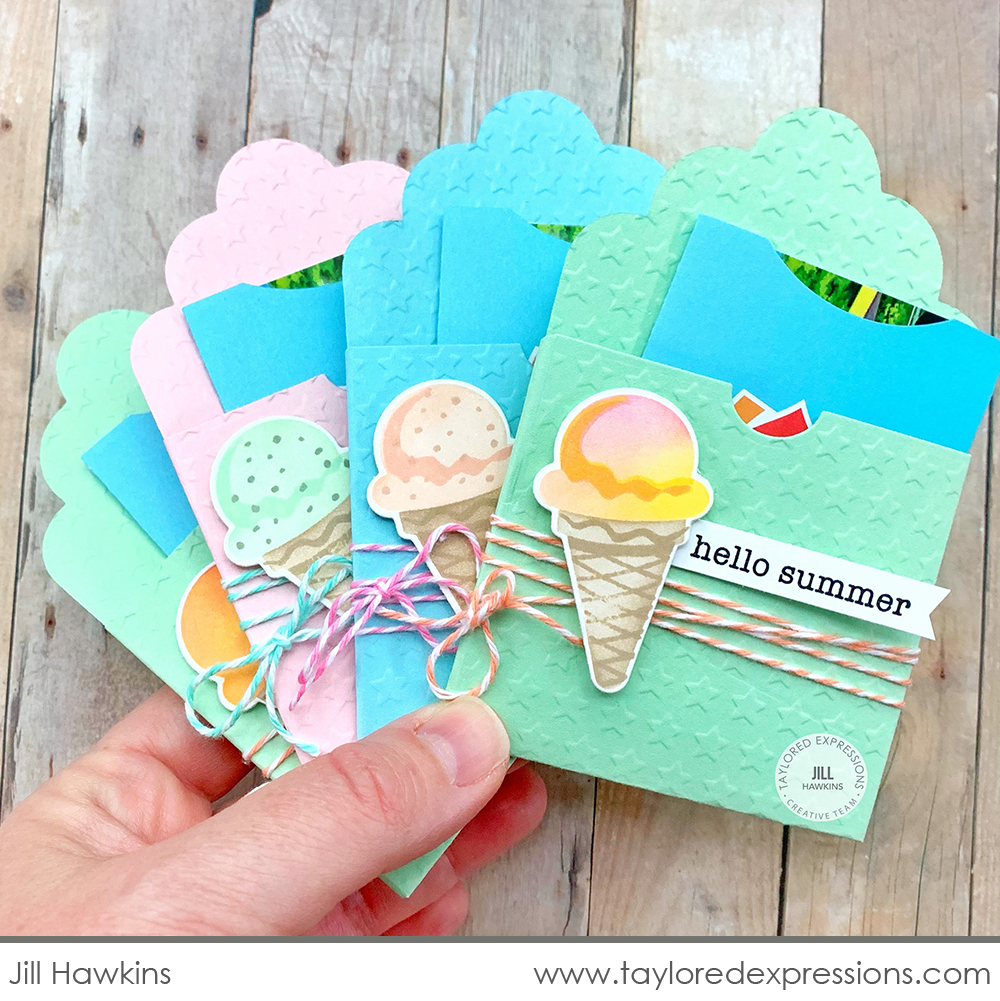
Finally for today are these cute as can be gift card holders created by Jill Hawkins! The pockets to hold the gift cards are created with the Tag Pocket die from a few shades of pastel cardstock colors and Jill added the larger ice cream cone from the Sweet Scoops Stencil & Clear Combo set to each of the pockets in a few different flavors. The sentiment is from the Anything’s Popsicle Stencil & Clear Combo set and Jill added it to a Sugar Cube cardstock strip that she notched the end of with craft snips. These gift card pockets are ready to deliver and my bets are on that gift card is for a sweet ice cream treat!

And now it’s time to check in with the lucky winners! If you find your name and comment listed below, please contact us with your mailing address and your selected ‘favorite product (must be one product, sorry… not a bundle) and we’ll get your prize in the mail right away! Congrats to all the prize winners!



Join Taylor live for “T Time” at 1pm Central today on the Taylored Expressions Facebook Page. She’ll be sharing a closer look at all of the new products in Summer & Glitter release. We hope to see you there – come join in the fun!
Thank you so much for stopping by today! Make sure you check out the rest of the TE Creative Team projects using the new Summer & Glitter goodies from this release. Click on the faces below to visit their blogs. Stop back Thursday for more inspiration, a video from Joy Baldwin, and a closer look at a few more new products from this release.


