
Oct 14, 2021
Let Go & Create With the NEW Gel Printing Kit!
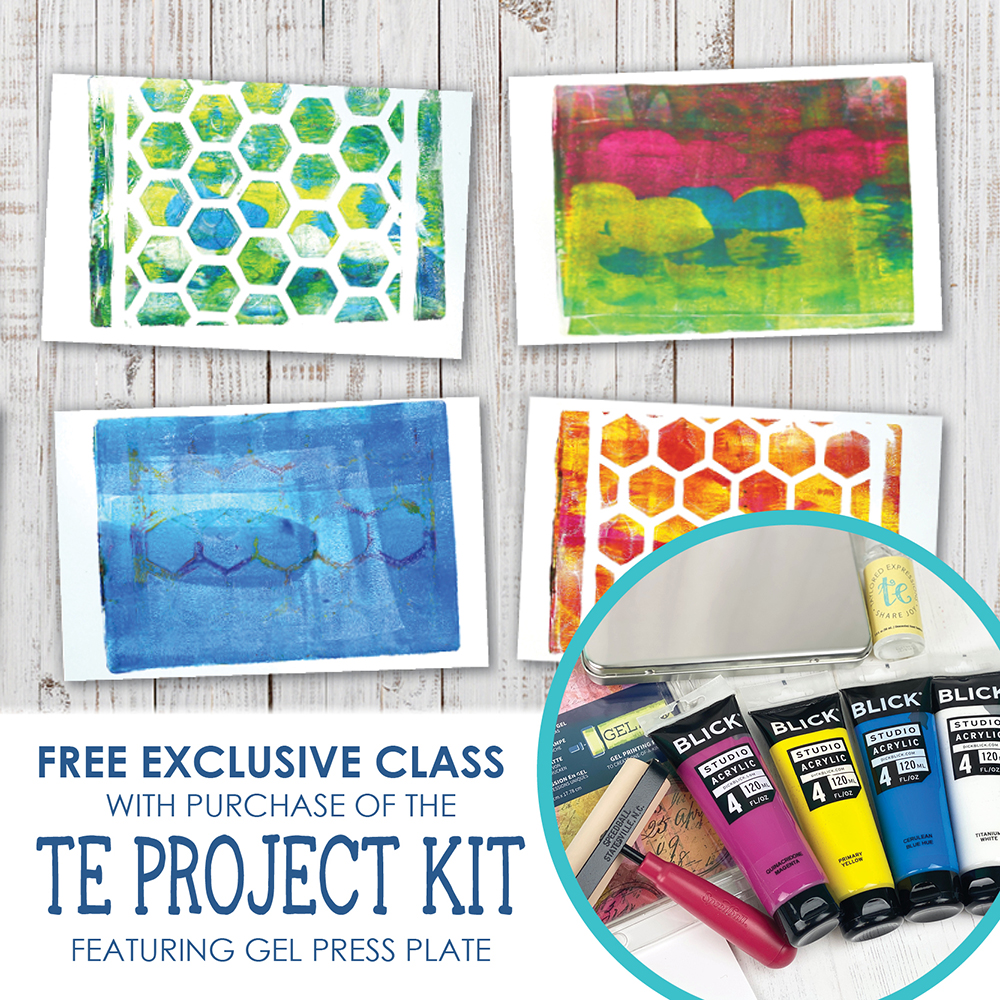
Hey, crafty friends! It’s Heather here today and I am SO EXCITED about the new Gel Printing Kit! We shared a boatload of information and inspiration on Tuesday’s post – it probably seemed like a lot! Really, all you need to know is that the gel press is another way to create backgrounds, patterned papers, and more to use on your projects. There are no rules, just to let go, create, embrace imperfection, and play. Today, I have more inspiration to share from the TE Creative Team, this time using other products from their crafty TE collection. That’s right! You already own so many items that you can use with a gel press!
If you haven’t checked out the new kit, click below to go to the TE webstore. Then keep scrolling for the inspiration using the Gel Printing Kit – including a video from Emily Leiphart!

Join Emily Leiphart in the video below as she uses a gel press for the first time and shares her experience with you!
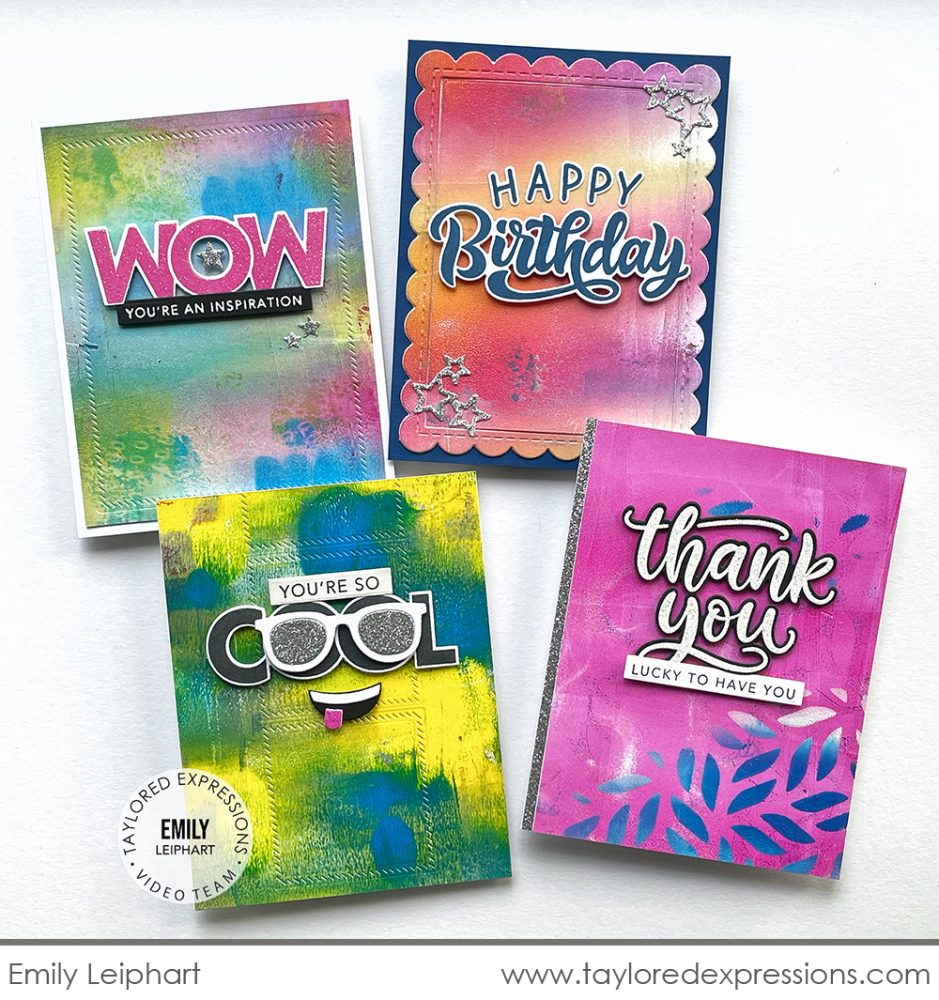
In the video, Emily uses the Gel Printing Kit to create a number of prints with acrylic paints. Emily really had fun playing with layering color and pulling prints on the gel press. If you aren’t sure about layering stencils and textures, this is a great way to get started. Emily did use a few of the new stencils on some of her prints. Then she chose four of the prints and trimmed them down to create a set cards.
Here’s a closer look at the cards that Emily created in the video:
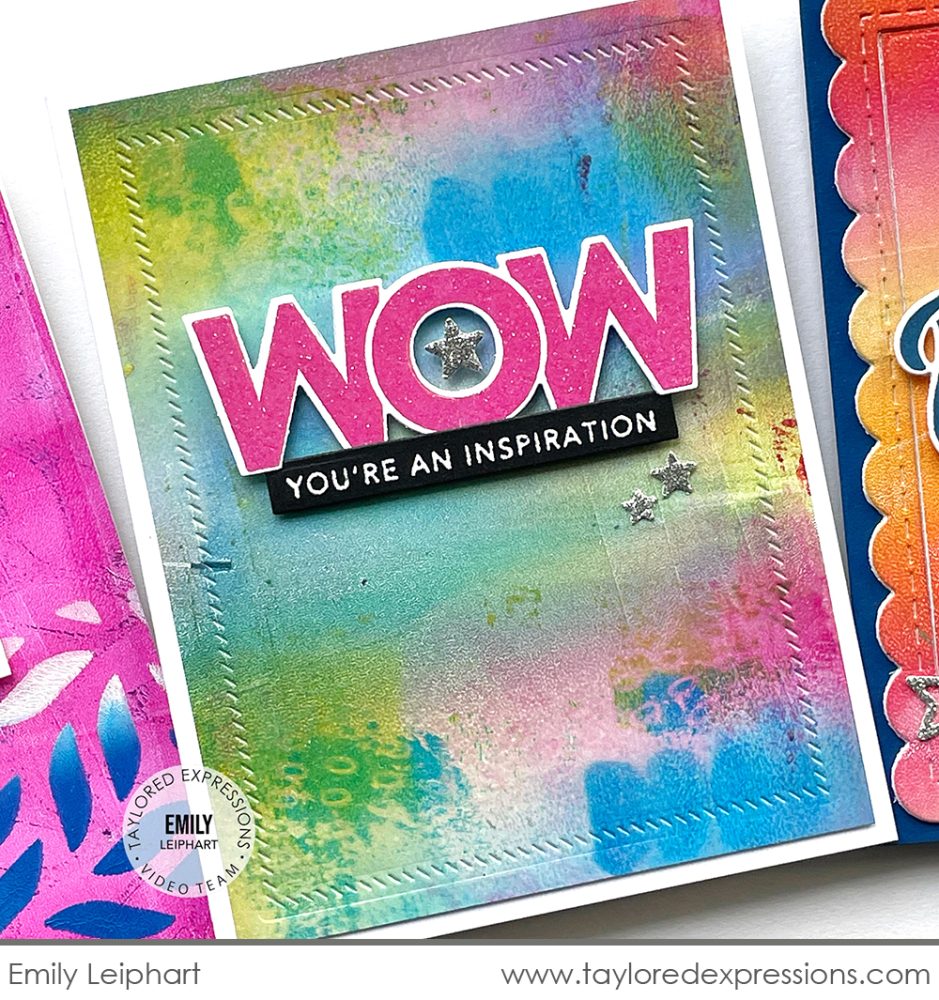
This card features a colorful background and you can see a few peeks of the Make a Dash stencil. Emily framed the background with the Diagonal Stitch Rectangle Stacklets set and added a sentiment put together with the On the Block – Mom stamp (+ coordinating die) – flipped upside down to spell ‘wow’ – and the Mini Strips – Fun & Funny stamp. A few stars cut out with the Gathered Stars die from silver glitter cardstock finish off the card.
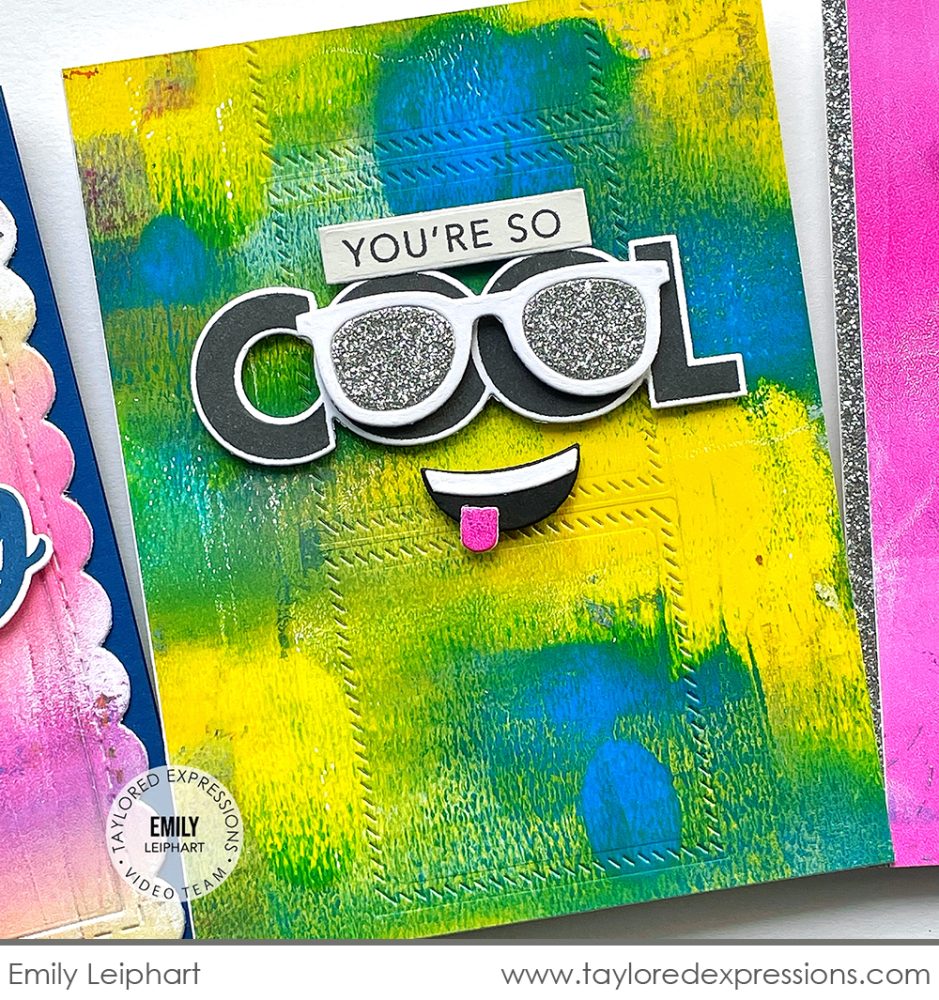
This next card features a bright and fun background created on the gel press with blue and yellow paints. Emily impressed several squares with the Diagonal Stitch Square Stacklets set down the middle. The sentiment for this card is put together with the On the Block – Cool stamp (+ coordinating die) and Building Blocks – Cool Additions stamp (+ coordinating die). I love the face that that Emily added using the Shades of Summer dies and Build an Emoji dies!
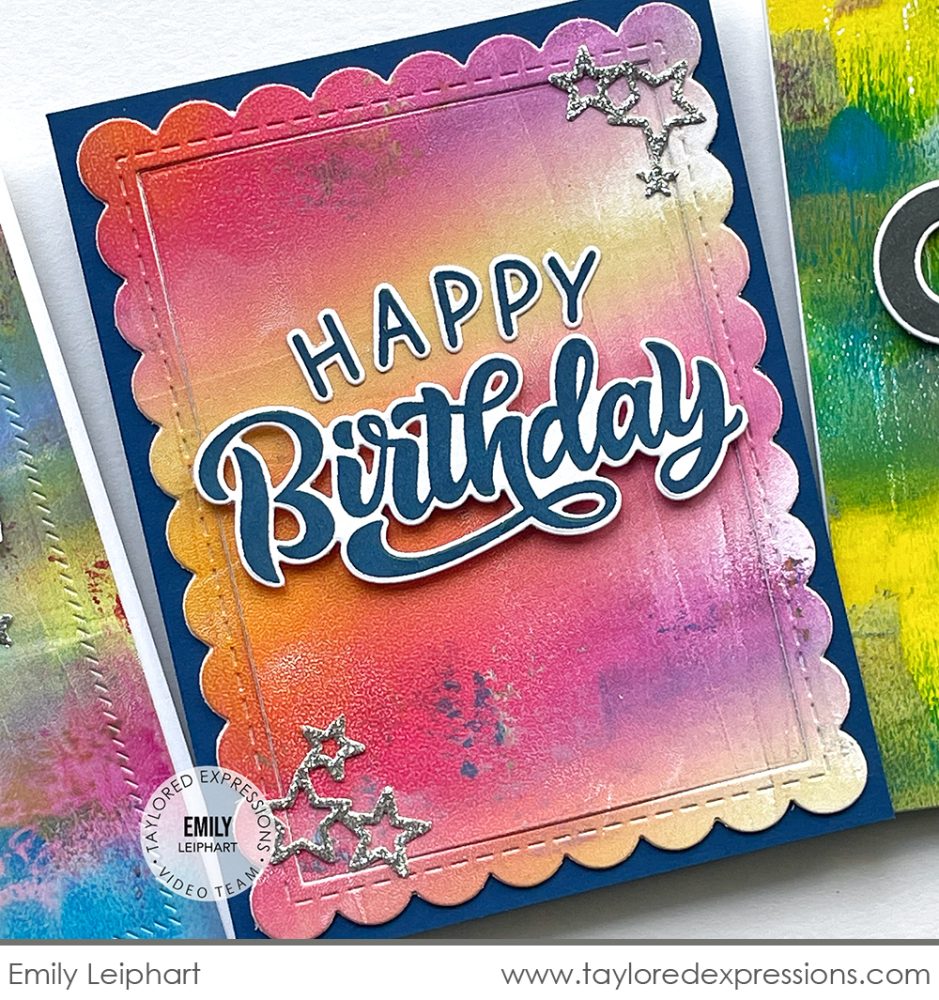
The background on this card was created on the gel press using magenta and yellow paints with just little touches of the blue. Emily cut out the background with a Frame in Frame 2 Cutting Plate die and added the ‘happy birthday’ sentiment from the Oh my Word – Happy Birthday stamp set (+ coordinating die) in Blue Corn ink along with a Blue Corn card base to bring out the blues in the background. The finishing touch on this card is the small clusters of glittery stars that Emily added to a few corners cut out with the Gathered Stars die from silver glitter cardstock.
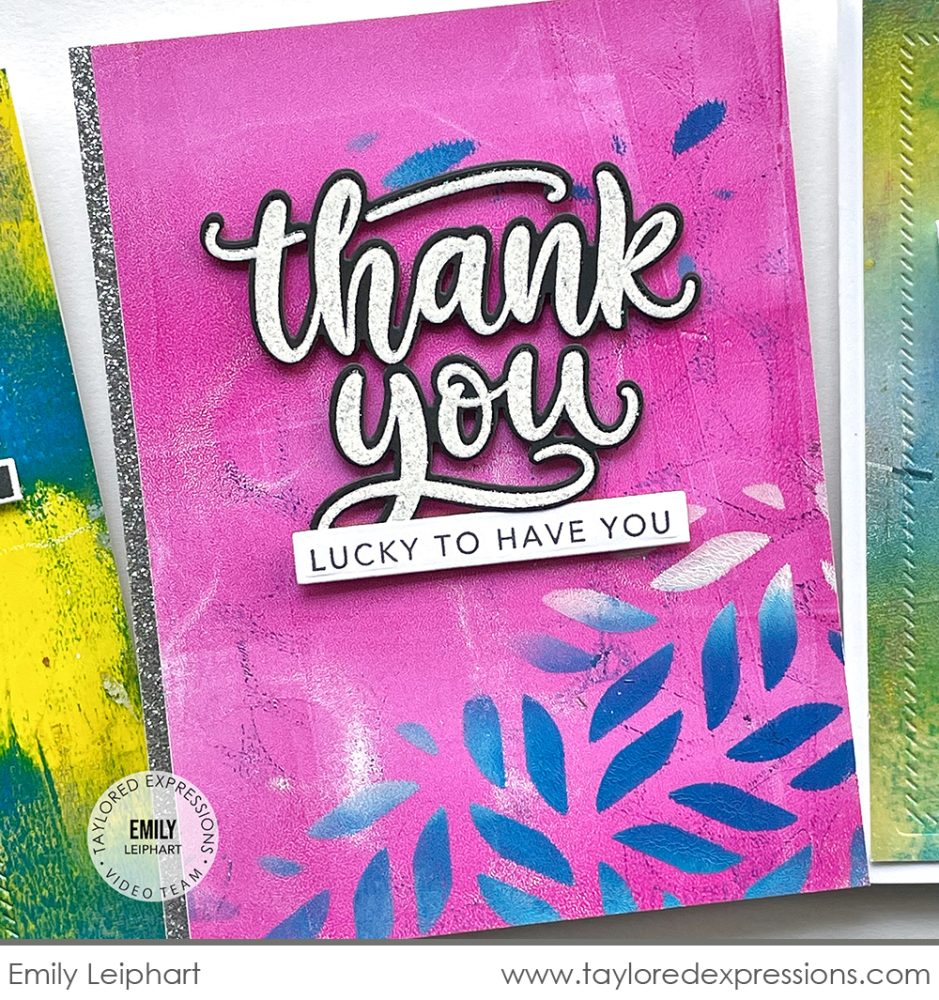
This last card has a background created by pulling a print on the gel press using the magenta paints and then layering another print over the top using a portion of the Wild Willow stencil with blue and white paints. The finished card features border of silver glitter cardstock and a sentiment put together with the Oh my Word – Thank You stamp set (+ coordinating die) and Mini Strips – You’re the Best stamp (+ Mini Strips die).
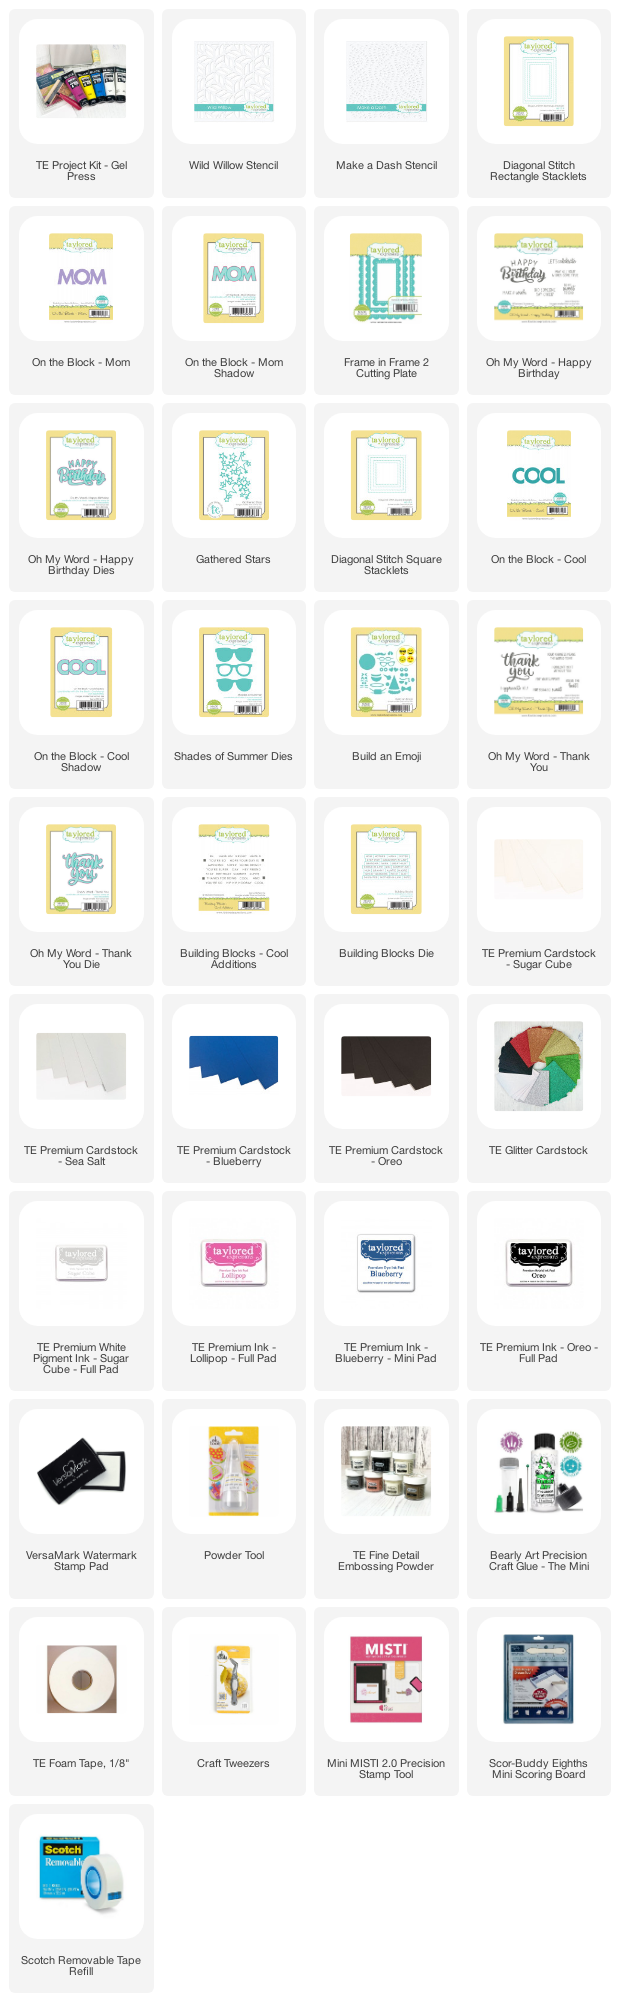
Check out the list below for all of the supplies that Emily used on her cards.

Here is more inspiration from the TE Creative Team using the Gel Printing Kit with other crafty supplies from their TE collections.

Jen Shults pulled out the Hot Spot and Scattered Floral stencils to create the background for this card. The print has several different layers on it! Jen layered magenta and blue paints on the press and then used the stencils with a pink paint made by mixing white and magenta together. To finish off the card, Jen added a few frames cut out with the A2 Thin Frame Cutting Plate die and a sentiment created with the Oh My Word – Thank You stamp set (+ coordinating die) and Building Blocks – Be Bright stamp (+ coordinating die).
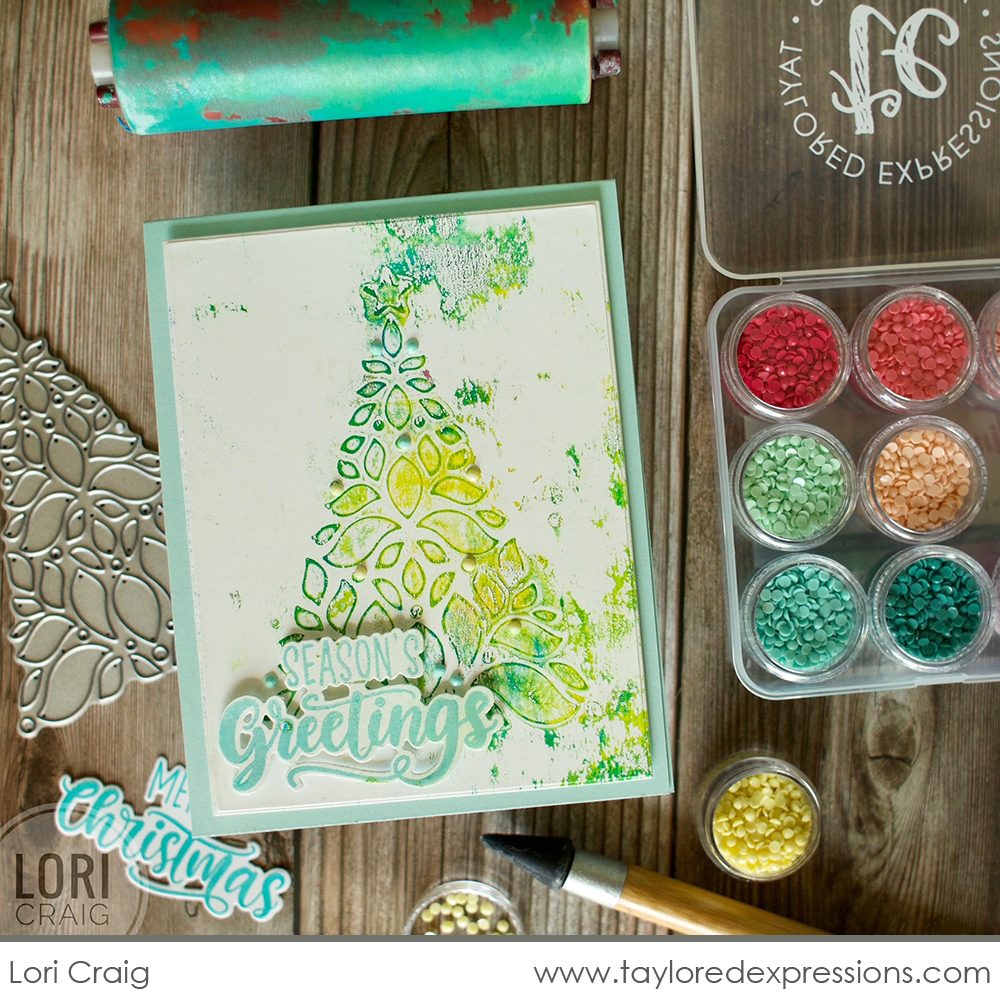
Lori Craig used the Festive Fir die to create a stencil with a piece of cardstock to use with her gel press (you could also used the actual Festive Fir stencil, but the plastic texture will give you a different look than a cardstock stencil). She inked up the gel press with yellow and blue paints, used her brayer to blend the color, layered the cardstock stencil over the top pulled a print, removed the stencil, and then pulled the print that she used on this card. Lori decorated the tree with gems from the Tiny Diamonds – Pastel set and added a sentiment stamped with the Joyful Season stamp set and cut out with the coordinating die.
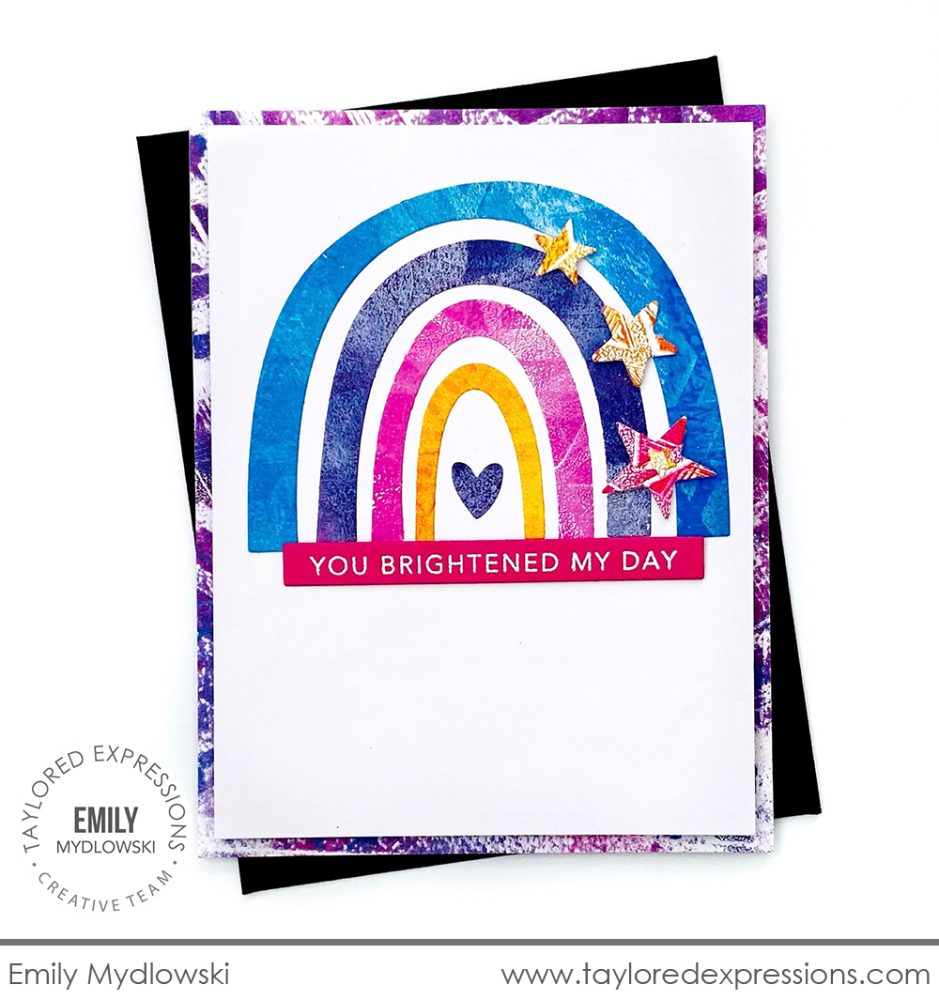
Emily Mydlowski created a fun and colorful rainbow by die cutting her gel prints with the Over the Rainbow die. She added a few stars down one side of the rainbow cut out with the Starstruck dies along with a sentiment from the Mini Strips – Hello Summer stamp. The rainbow panel is added to an A2 card that had another gel print adhered to the front. Die cutting is a great way to use the gel press prints that aren’t your favorite or create prints in a rainbow of colors to use just for die cutting!
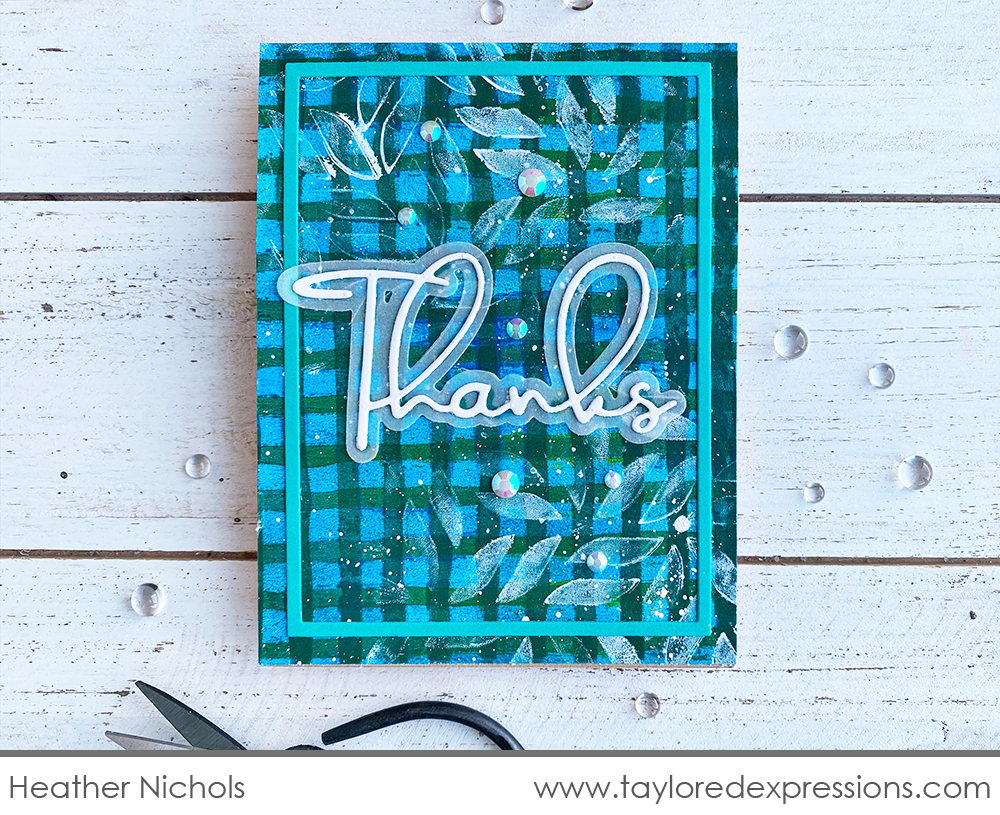
I created a plaid design on the background of this card using the Wavy Stripe stencil (Heather Nichols). I first pulled the background using blue paint and then added the stripe layers by adding the stencil to the press, adding blue and yellow paints, blending the color with my brayer, removing the stencil, and pulling the print. I repeated another layer with the stencil rotated 90 degrees. Finally to add the leaves I layered the Wild Willow stencil on the gel press, added white paint through portions of the stencil, removed the stencil, and pulled the print. I added the sentiment with the Signature Thanks die (+ coordinating backer die), added a Blue Raspberry frame cut out with the A2 Thin Frame Cutting Plate die, and sprinkled Bits & Pieces – White Rhinestones across the card for a final touch.
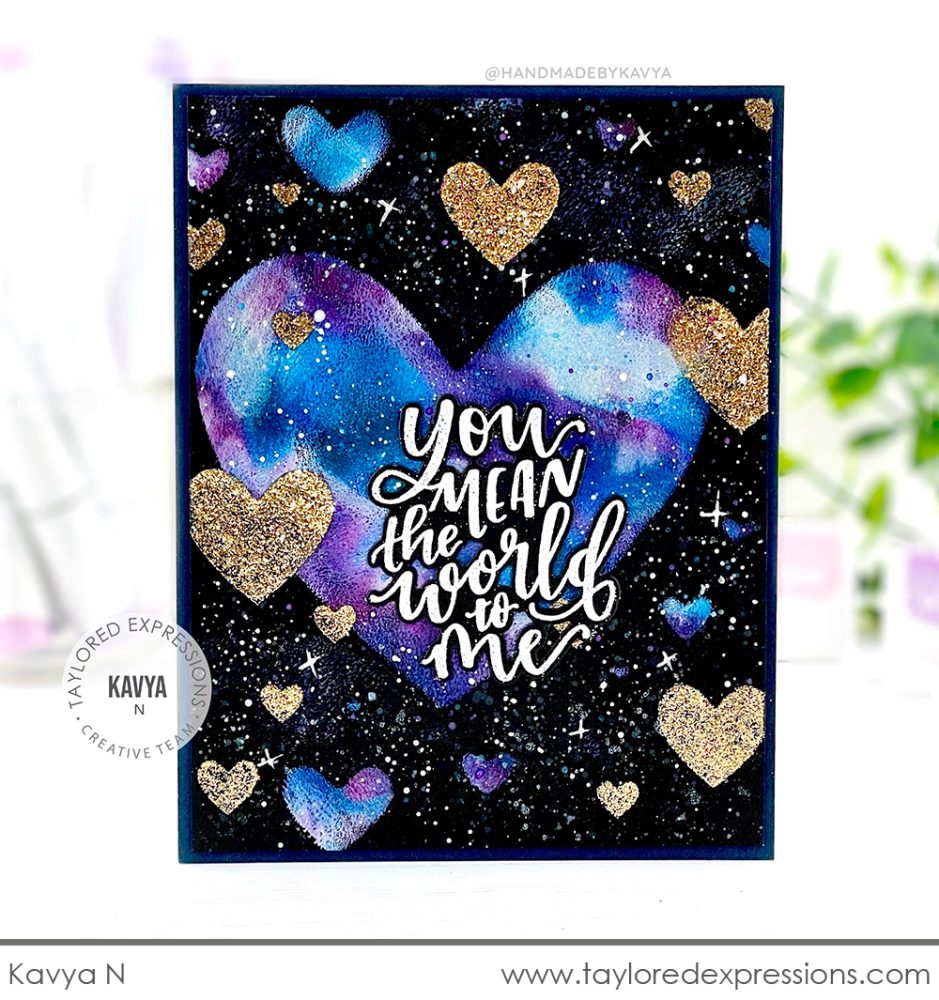
Kavya created a stunning heart galaxy on this card with the gel press and the Heart of Hearts Layered Stencil set. She added blue, magenta, and white paints to the gel press, layered the stencil with the large heart over the top, and pulled a print with Oreo cardstock (!) with the stencil still in place. She added the second stencil layer with Happy Medium – Gold Glitter over the top of the print and then added lots of paint splatters to fill the background with stars. The ‘you mean the world to me’ sentiment is from the Handlettered Sentiments stamp set.

Today, join me (Heather Nichols) live for “T Time” at 10AM Central on the Taylored Expressions Facebook Page. We hope to see you there – come join in the fun! (Don’t worry, if you miss the live you can always watch the saved broadcast afterward!)
That wraps up what I have to share for the Gel Printing Kit release! I hope you have been inspired to try out the gel press to see the possibilities of what you can create. Please share your creations with us on the Fans of Taylored Expressions Facebook Page! Next week on the blog, we are bringing you crafty inspiration for gifts and embellishing your gifts for the holidays. Watch for a sneak peek this weekend and then join us next week to see more!
Did you know that you can subscribe to our blog and get our posts right in your inbox? Just sign up right HERE – that’s all there is to it to make sure you don’t miss any of our crafty inspiration!
