Mar 03, 2017
Planner Check In!
Are you a planner gal? If yes, you are in luck today as Creative Member Jean Manis got inky with our Clearly Planned products and shares how she created two fabulous and functional planner layouts! If you haven’t yet dabbled in planning or aren’t sure if it’s for you, today’s post just might make you a planner addict, too! Check things out…

Notes from Jean about her planner layouts…
Hello. Today I’m sharing planner pages created with the Taylored Expressions Clearly Planned products. There are many different ways to use these products to meet your planner needs. I’ve taken a Clean and Simple approach (not unlike my card making style) with my planner pages. In this post, I’m sharing two weeks, the week of March 13-19 and April 10-16. These weeks include holidays, in this case St Patrick’s Day and Easter. Let’s take a look, starting with the March spread.
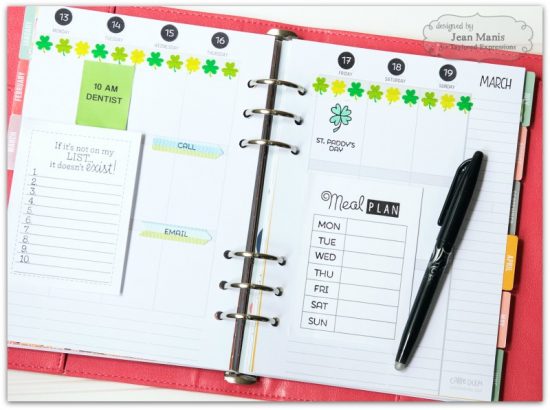
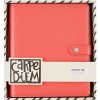
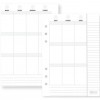
I use the Carpe Diem Planner with the Vertical Weekly Inserts. To begin, I stamp the dates using the Number Game set on the Label It – 1/2″ Circle paper with Oreo ink. I’ve stamped the month with Month by Month.
I use the top row to record appointments and deadlines which I know in advance, as well as holidays. (The dental appointment rectangle was created on my computer.) I used Mark Your Calendar – Holidays to add St. Patrick’s Day. One thing you might notice right away is that I have only stamped with black ink. However, I do like to add some color to the page – I colored in the shamrock with a colored pencil and added St. Patrick’s Day-themed washi tape across the top.
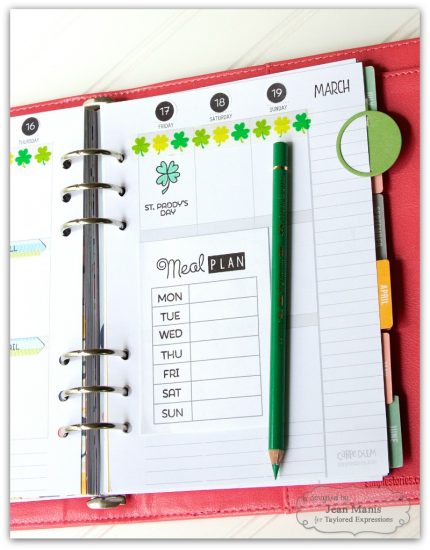
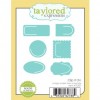
The Sticky Situation – Four and Sticky Situation – Three sheets can be added anywhere on the planner pages. I used Sticky Situation – Three to include my weekly meal plan, stamping the heading and days of the week with Makin’ a List. I cut the page marker with one of the Clip It On dies from Peapod cardstock.
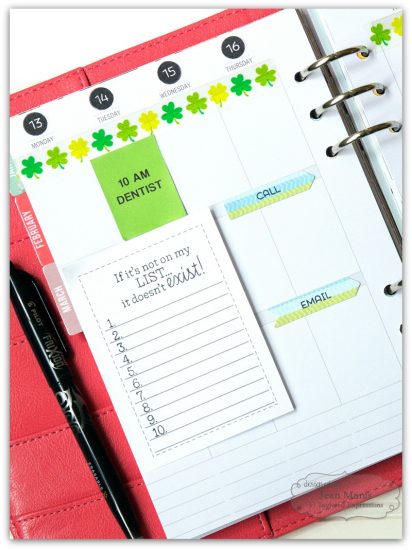
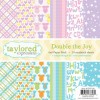
I’ve stamped Sticky Situation – Four with Makin’ a List 2. I’ve added flags, cut with Flag It from Double the Joy patterned paper and stamped with images from the Work Smart set for additional color.
Now let’s look at my April planner pages which include the week of Easter.
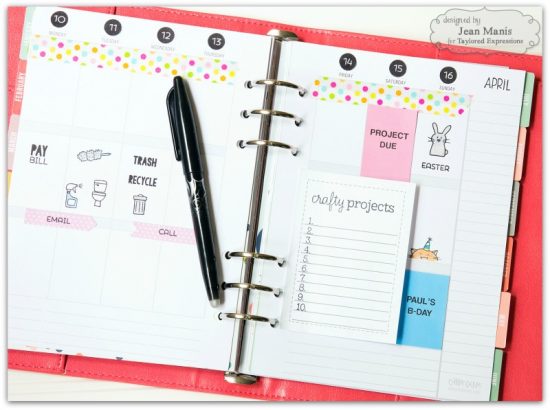
Just as I did for the March pages, I’ve added dates stamped with Number Game on the Label It – 1/2″ Circle paper using Oreo ink and the month stamped with Month by Month. I added spring-themed washi tape across the top. Again any known commitments and holidays are recorded in the first row. I used colored pencils to color the Easter bunny, stamped with Mark Your Calendar – Holidays.
On this spread, the second row contains weekly chores stamped with Clean Freak.
I cut the flags from Rainbow Brights patterned paper with Flag It and stamped them with images from Work Smart.
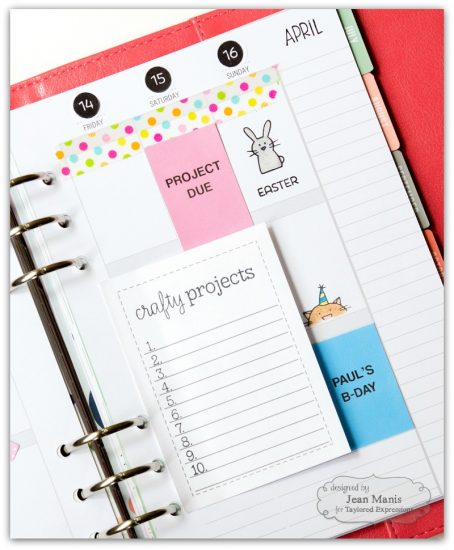
I stamped a Sticky Situation – Four sheet with Makin’ a List 2 to create a list of my “Crafty Projects.” This list can easily be moved from this week’s spread to another. My youngest son’s birthday is April 16. Because I’d already stamped the Easter info in the first row, I added the birthday information (created on my computer) to the third row and stamped an image with Sneak a Peek for visual interest, and simply because those critters are so cute!
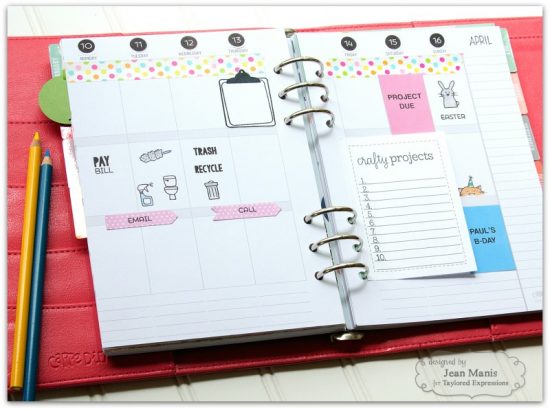
After I created the initial spread, I decided to add a blank clipboard stamped with Work Smart on Sticker Paper to the first row to show how additional images can easily be added to the pages.
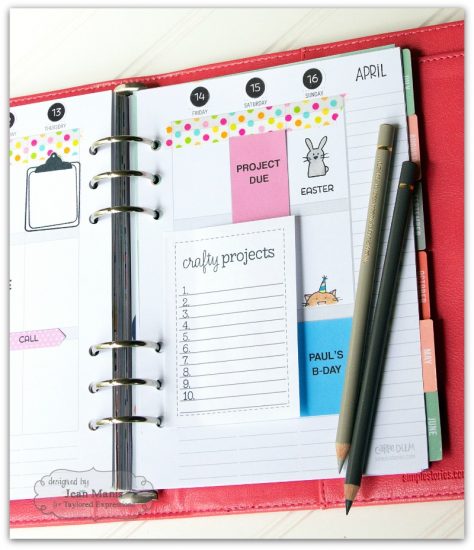
My planner pages reflect my way of organizing my weeks, as well as my CAS style – working mostly with black and white while adding color and seasonal touches.
Thank you so much, Jean, for sharing this project with us today! You can catch more of Jean’s work on her blog, Right as Rain.
We’ve got an awesome Clearly Planned design team that is always hard at work sharing fun tips and inspiration on Instagram and Facebook. Check out what you may have missed from our planner gals HERE.


