Sep 14, 2021
It’s Release Day! NEW 13th Birthday Products are Available NOW!
Hey, crafty friends! It’s Heather here and it’s release day!!! All of the new products for our 13th Birthday release are now available to purchase in the TE webstore! As always, the new products were so much fun to create with and birthday cards are something that I always need to add to my card stash, how about you? When I have my supplies out on my desk and come up with a card design, I try to make multiples so that I have several on hand. Between me and family members visiting my card stash boxes we go through lots of birthday cards! October is the busy birthday month in our family and so the new birthday products being released now is perfect timing for me to get that stash bulked up again.
Up on the TE Blog today is more inspiration using the new birthday products from the TE Creative Team and a video from me! Before you scroll down, check out the details about the promotion happening this week for the 13th Birthday release:
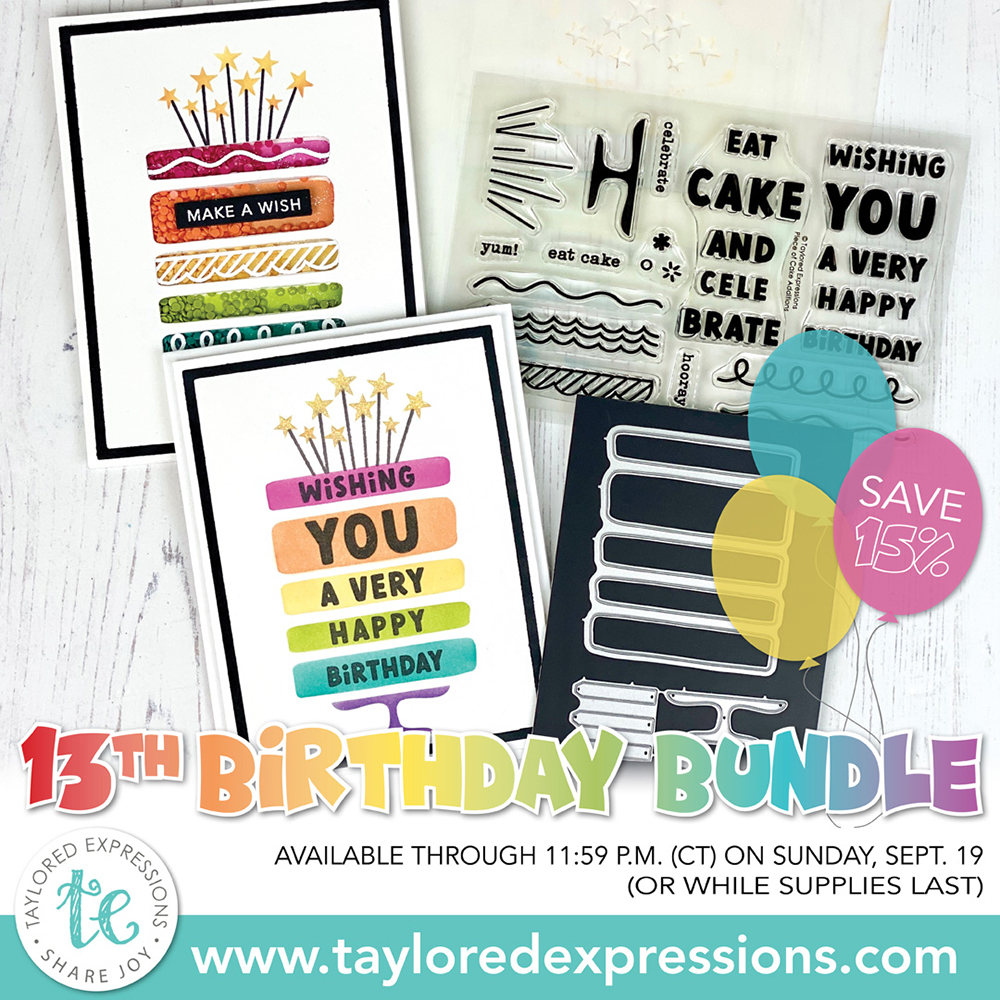
Right now through Sunday, September 19th, you can get our 13th Birthday Bundle for 15% off! The bundle includes the Piece of Cake Layered Stencil set, Piece of Cake Additions clear stamp set, and Piece of Cake die collection. The discounted bundle price is only available through 11:59PM Central Time on Sunday, September 19th or while supplies last.
If you haven’t checked out the new products for our 13th Birthday release, click below. Then, keep scrolling for today’s video and inspiration!
- Tune in for new product inspiration: this release includes 19 new products; new stamps, dies, stencils, and colorful embellishments!
- Our TE blog posts this week Monday, today, and Thursday will feature a new how-to tip, technique, or process video.
- Receive FREE shipping on orders of $50 or more in the United States!
- Earn a free, exclusive stamp with purchases of $100 or more. CLICK HERE for more information.
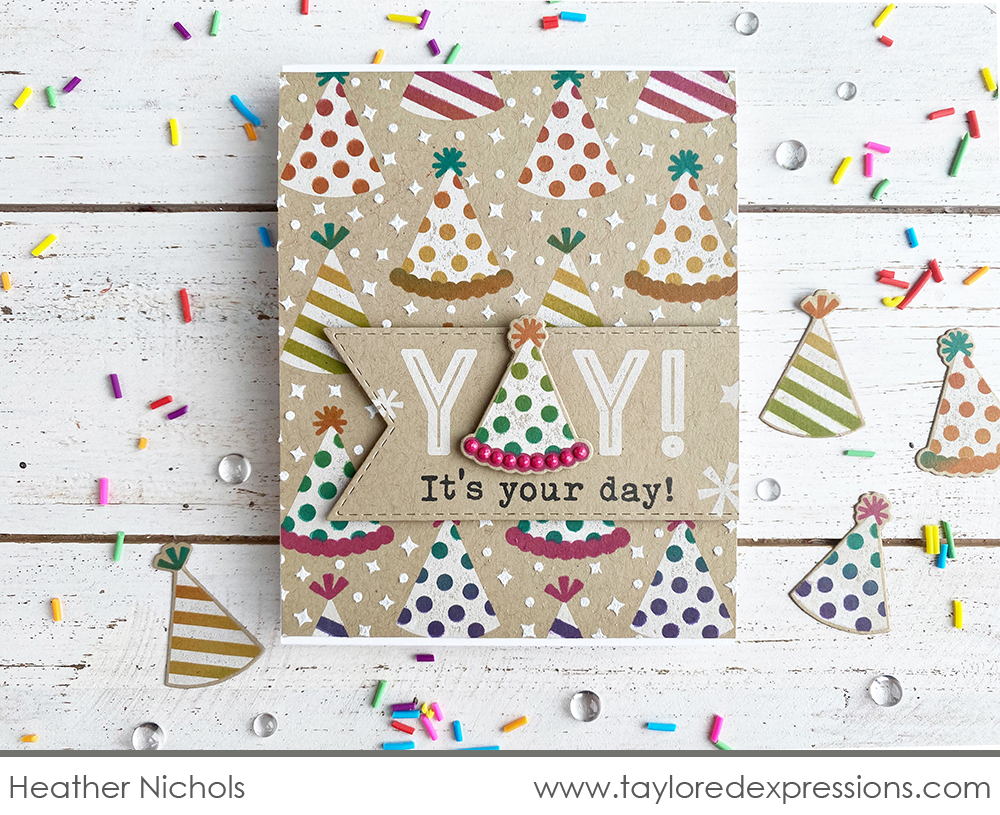
This card probably looks familiar if you checked out the 13th Birthday Challenges and card auction last week. Today, I am going to show you how I created it – watch the video below!
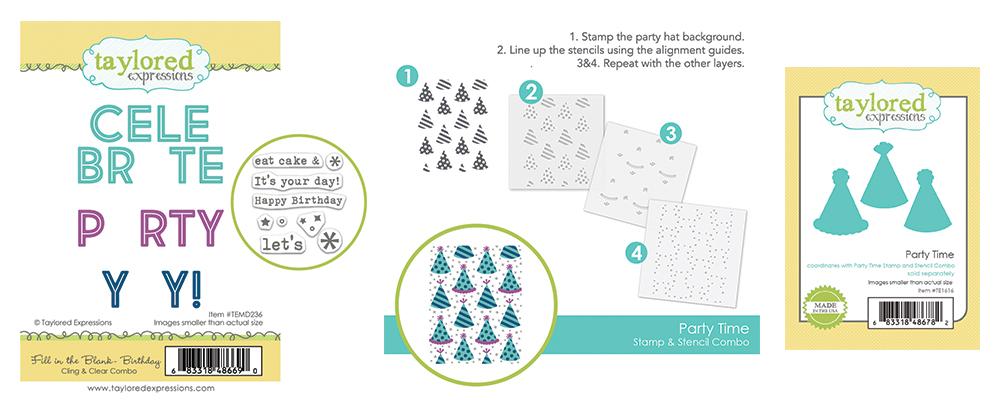
In the video, I show you how I created a birthday card using the Party Time Stamp & Stencil Combo set and coordinating dies. I combine my love for Toffee cardstock and Taylor’s affinity for rainbow colors into the card design. The main part of the party hats are stamped with the background stamp using Sugar Cube ink on Toffee cardstock and I show how to add the colorful details to the hats and sparkly confetti with the stencils. The sentiment is added to a Stitched Banner Stacklets die cut with the Fill in the Blank – Birthday Cling & Clear Combo set, using a single party hat to fill in the missing ‘A’.
Here’s a closer look at the new products that I used on my card:
Create fun, colorful cards for every birthday with our Piece of Cake Layered Stencil set. The set includes two stencils and creates a fun layered cake on a stand along with stars or flames that you can add at the top of the cake. Fun to use with TE Bitty Blender Brushes (sold separately), each stencil includes etched alignment guides for an A2-sized card to ensure your design lines up perfectly on your project.
Don’t want to get our your blender brushes? Then cut out a layered cake, candles, and cake stand with the Piece of Cake die collection. Add all of the details to your stenciled or die-cut birthday cake designs with the Piece of Cake Additions clear stamp set. There are two larger sentiments perfectly spaced to stamp on all of the cake layers at once, details to decorate the cake, and a few tiny typed birthday sentiments!
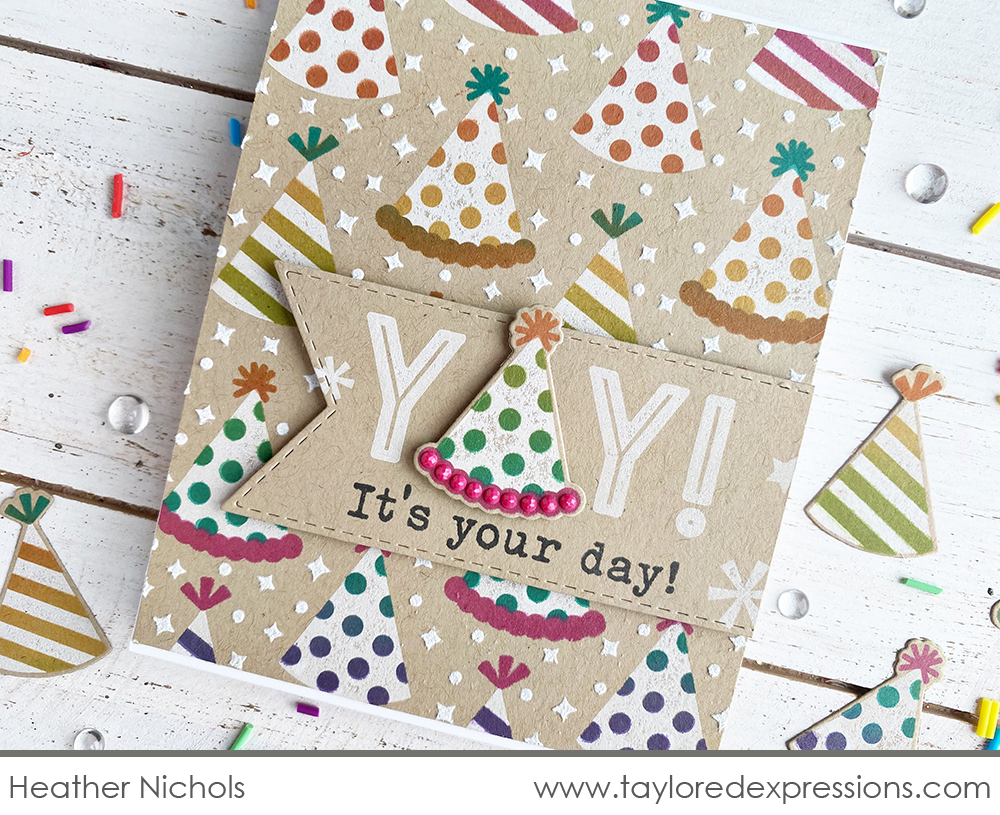
Bright colors are not something that I normally gravitate toward when creating projects and I kind of actually love that Taylor challenged me to use a rainbow of colors on this project. I really love how this card turned out! After stamping the hats, I added a rainbow color blend to add the hat patterns with Lollipop, Candy Corn, Pineapple, Lime Zest, Blue Raspberry, and Jelly Donut inks. Sometimes when adding colors to a color of cardstock besides white, you might want to lay down a layer of white ink first to help brighten up the colors layered over the top. I didn’t do that on this card which means the colors are a touch muted than if they had been stenciled on Sugar Cube cardstock. The effect is still very magical, and further proof that Toffee goes with everything *wink!*
For the hat tops and brims, I blended up from the bottom of the stencil with Lollipop, Candy Corn, and Blue Raspberry inks. The confetti is stenciled with Sugar Cube ink with a layer of Moonstone Nuvo Glimmer Paste layered over the top for a little bit of sparkle.
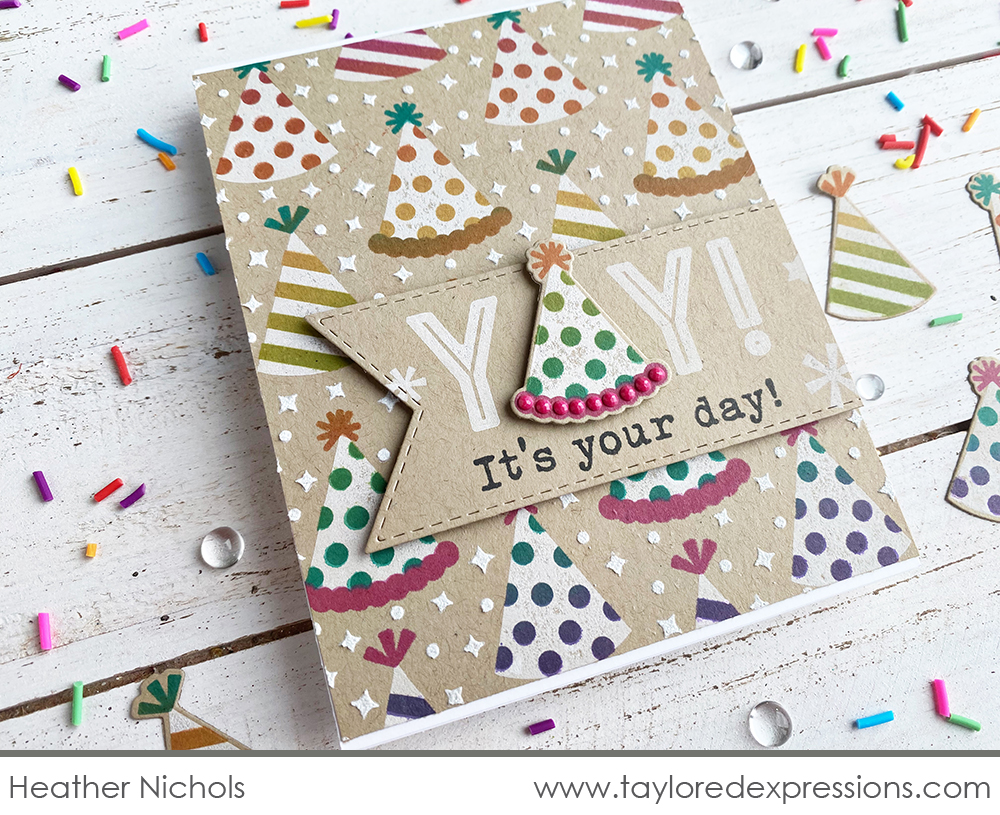
When I stamped the party hats for the background, I stamped an extra panel to cut out individual hats from using the coordinating dies and used one to fill in the extra letter on the ‘yay!’ word from the Fill in the Blank – Birthday Cling & Clear Combo set. To step the hat up a bit, I added Lollipop Tiny Diamonds to the hat brim. They are the perfect finishing touch!
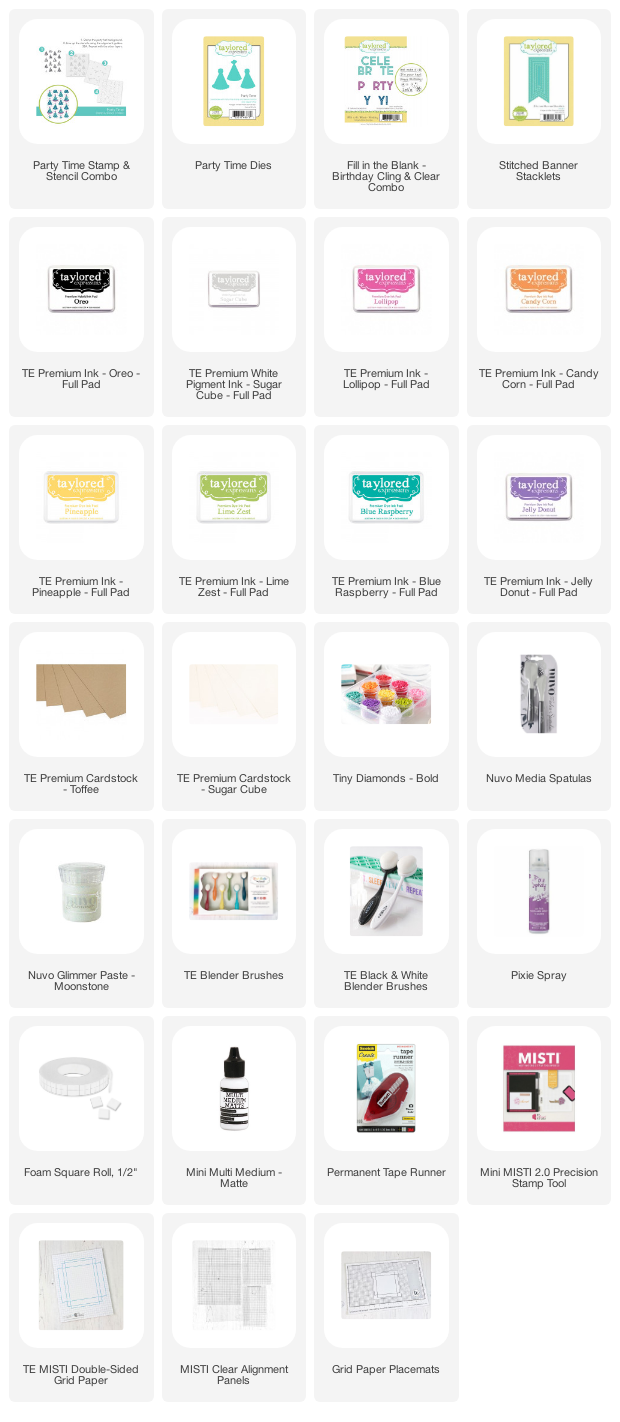
Check out the list below for the supplies that I used on my card:

Now, check out more inspiration from the TE Creative Team and a closer look at a few of the new products from this release:
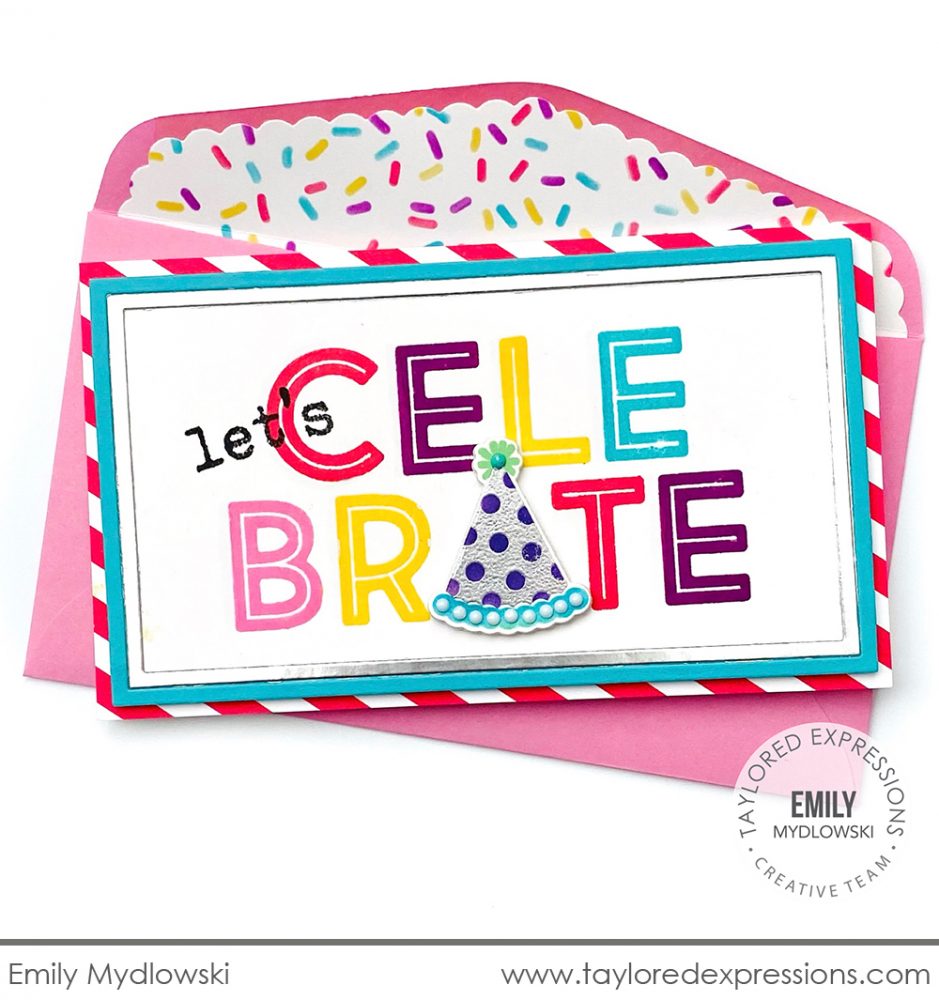
Emily Mydlowski used the ‘celebrate’ sentiment on this Mini Slim birthday card from the Fill in the Blank – Birthday Cling & Clear Combo set and stamped it in multiple colors by inking up the individual letters with mini ink cubes – too fun! She added ‘let’s’ from the clear stamp set and added an individual party hat that is created with the Party Time Stamp & Stencil Combo set (+ coordinating dies) to fill in the missing letter and complete the ‘let’s celebrate’ sentiment. The hat is embossed in silver with colorful details stenciled onto it and Tiny Diamonds to add extra dimension and sparkle!
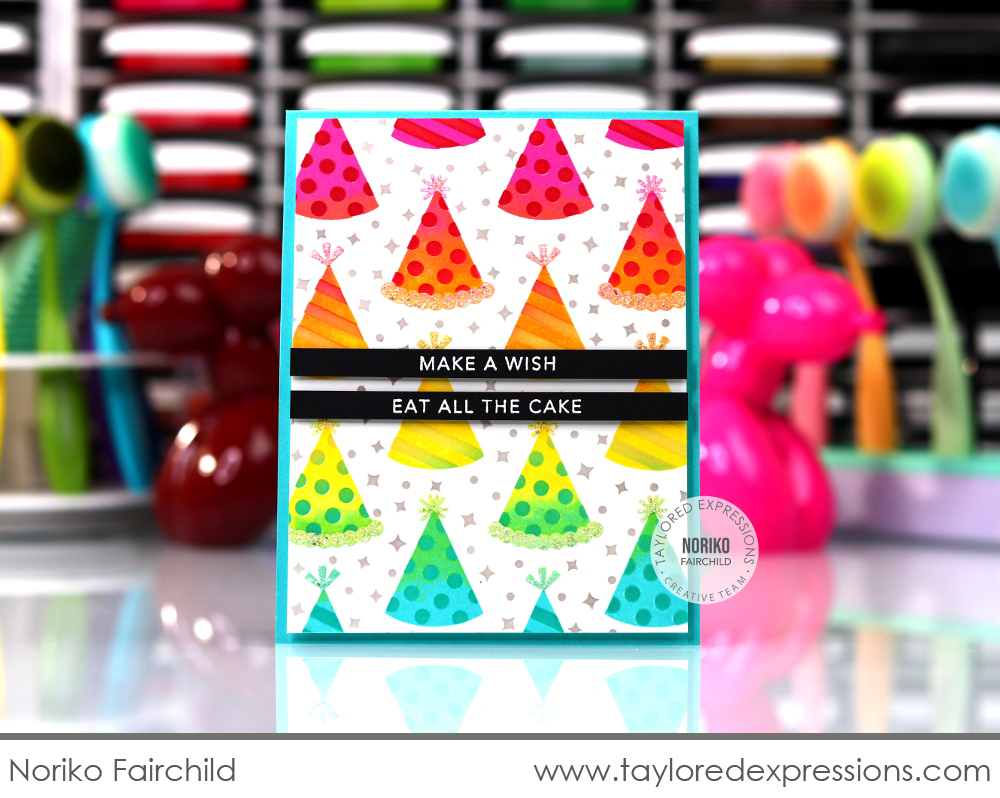
Talk about bright rainbow colors! Noriko Fairchild used all of them on this birthday card created with the Party Time Stamp & Stencil Combo set. She stamped the background stamp that is inked up with multiple colors (mini ink cubes for the win again!) and then stenciled the hat details with another rainbow blend, in ink tones just a little darker than the stamped impression. She stenciled the confetti in a gray ink and added sparkle to the hat tops and brims with a glitter paste. The sentiments are from the new Mini Strips – Birthday stamp (see more below) and are embossed in white on Oreo cardstock strips.
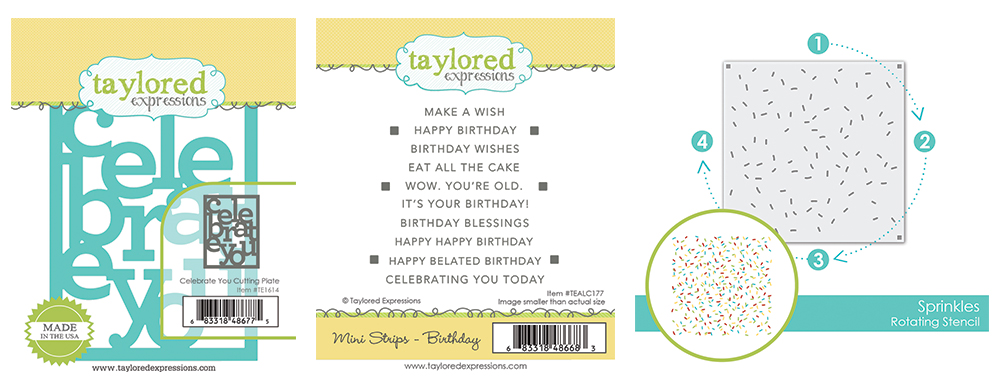
The Celebrate You Cutting Plate definitely makes a statement! The sentiment cascades down an A2 card front and you can use it as a background or let it take center stage on a birthday card – or a card to celebrate someone special for any occasion!
Stamp 10 sentiments that celebrate all things birthday with the new Mini Strips – Birthday stamp. Use the sayings individually or combine them together for more possibilities! Cut all of the sentiments with one pass through your die cut machine using our innovative alignment guides with the coordinating Mini Strips or Mini Strips – Asymmetrical dies.
Add a random pattern of sprinkles in various colors with the Sprinkles Rotating Stencil. Perfect for cards to celebrate birthdays and more, this stencil allows you to apply one color, rotate it 90 degrees, apply color again, rotate it 90 degrees, apply color again, etc. until you have a multi-colored sprinkles pattern without any overlapping pieces!
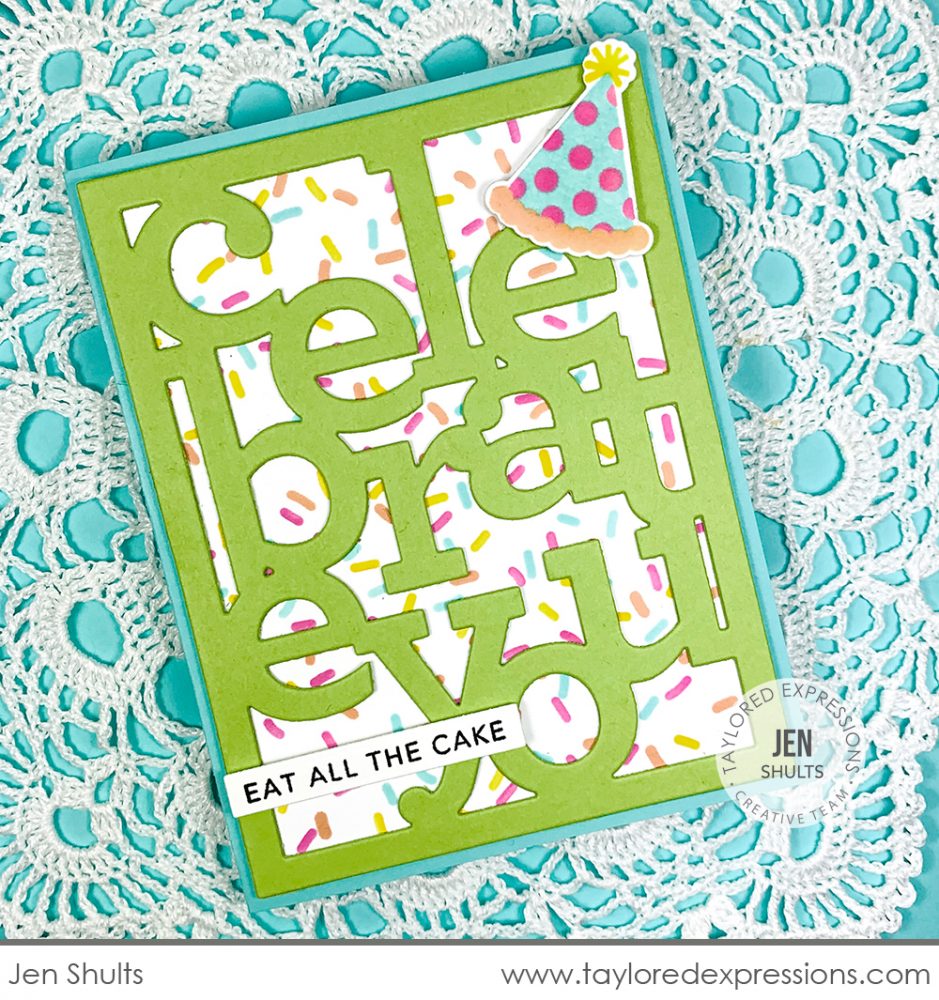
Jen Shults brought a party hat and confetti on this birthday card created with the Celebrating You Cutting Plate die. The colorful confetti background was stenciled using the Sprinkles Rotating Stencil and using Fruit Punch, Peaches ‘n’ Cream, Granny Smith, and Confetti Cake inks for the different color layers. The ‘celebrate you’ is cut out from Lime Zest cardstock and Jen added a sentiment from the Mini Strips – Birthday stamp and a party hat created with the Party Time Stamp & Stencil Combo set in the same colors as the confetti background.
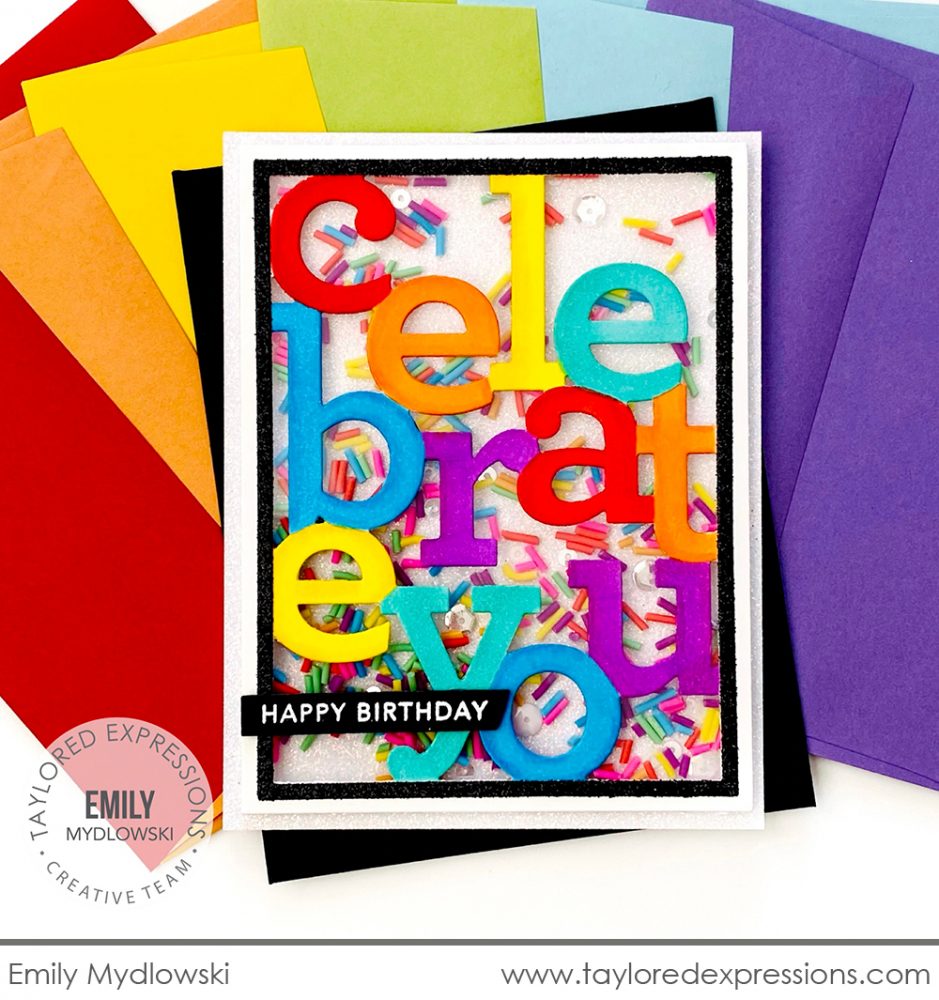
Here’s more rainbow color on this birthday shaker card by Emily Mydlowski created with the Celebrate You Cutting Plate die. Emily cut out the cutting plate from Sugar Cube cardstock and colored the individual letters with Copic markers. She backed the die cut with acetate and added it to a white glitter cardstock panel with Sticky Strips to make it into a shaker. The shaker is filled with the new Bits & Pieces – Sprinkles and Snow Flurries sequins. Emily added even more sparkle to the card with a thin frame cut out with the A2 Thin Frame Cutting Plate die from black glitter cardstock. The ‘happy birthday’ is from the Mini Strips – Birthday stamp and is embossed in white on Oreo cardstock.
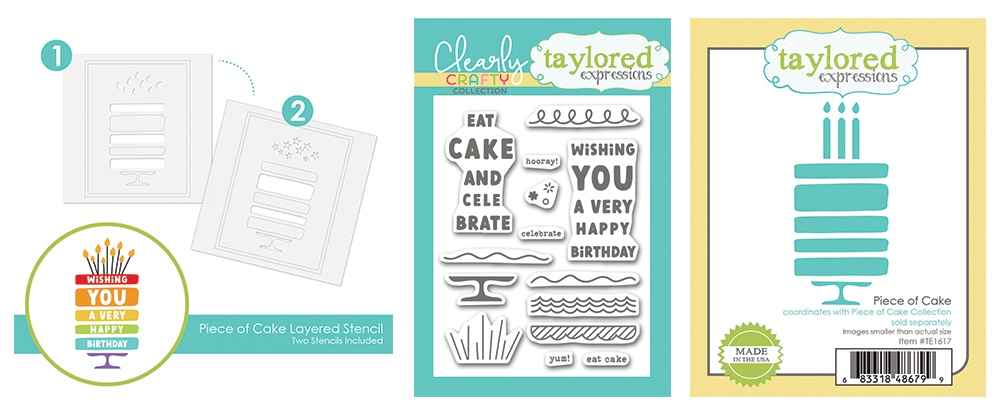
Create fun, colorful cards for every birthday with our Piece of Cake Layered Stencil set. The set includes two stencils and creates a fun layered cake on a stand along with stars or flames that you can add at the top of the cake. Fun to use with TE Bitty Blender Brushes (sold separately), each stencil includes etched alignment guides for an A2-sized card to ensure your design lines up perfectly on your project.
Don’t want to get our your blender brushes? Then cut out a layered cake, candles, and cake stand with the Piece of Cake die collection. Add all of the details to your stenciled or die-cut birthday cake designs with the Piece of Cake Additions clear stamp set. There are two larger sentiments perfectly spaced to stamp on all of the cake layers at once, details to decorate the cake, and a few tiny typed birthday sentiments!
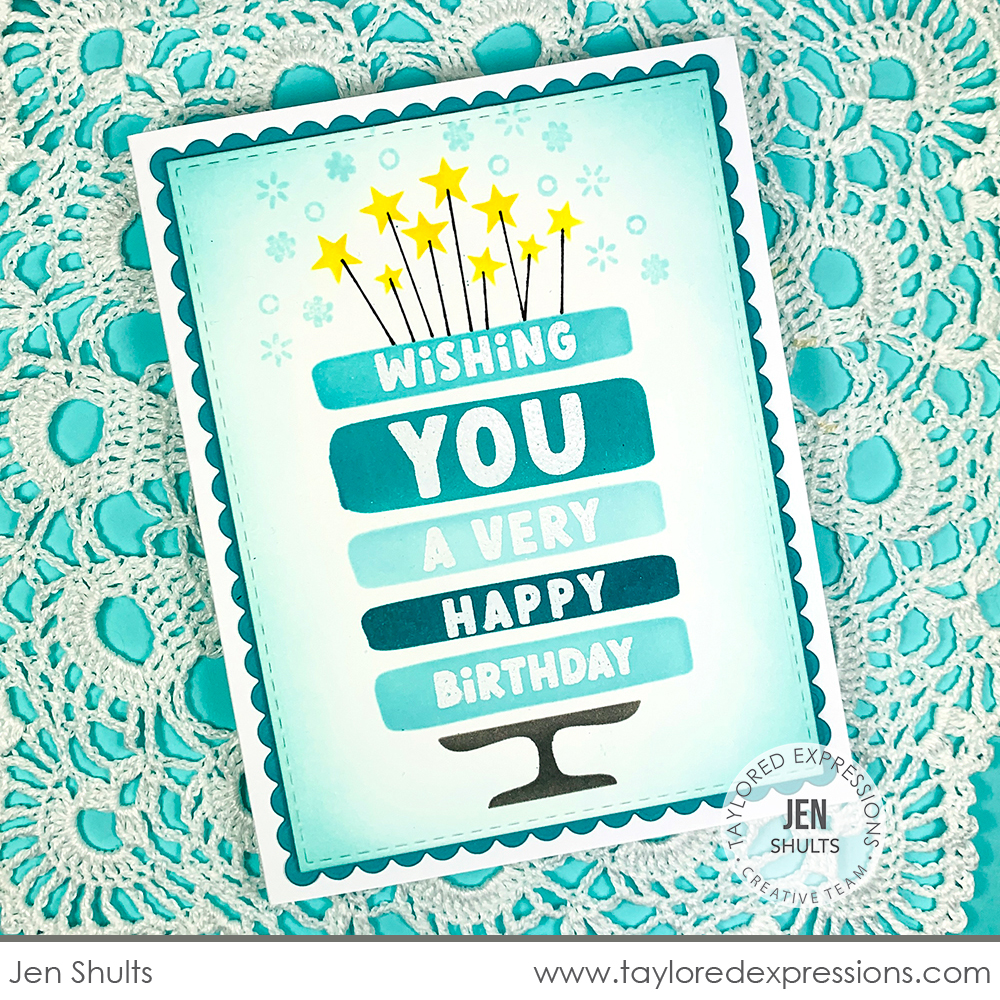
Jen Shults knows how to celebrate TE style with her signature TE teal layered birthday cake! She used the Piece of Cake Layered Stencil set to stencil the cake using Confetti Cake, Cookie Monster, and Blue Raspberry inks. The cake is topped with stars and Jen embossed the ‘wishing you…’ sentiment from the Piece of Cake Additions stamp set in white onto the cake layers. I love the extra confetti twinkles that Jen stamped around the stars!
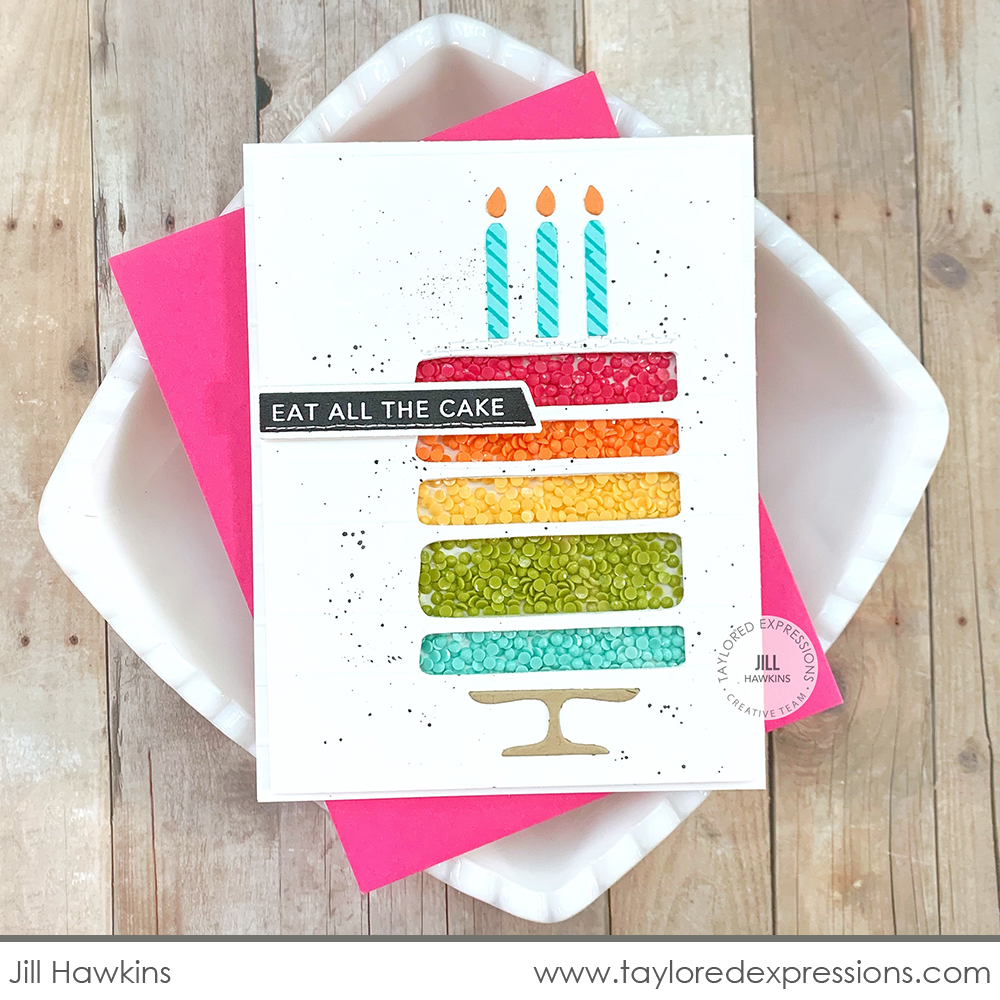
Here’s another Birthday Challenge card making a re-appearance from Jill Hawkins! I love how Jill used the Piece of Cake die to create a shaker card, filling it with a rainbow of Tiny Diamonds. She stamped the die cut candles using details from the Piece of Cake Additions stamp set and added the cake stand at the bottom of the cake cut out from Toffee cardstock. The ‘eat all the cake’ sentiment is embossed on an Oreo cardstock and cut out with the Mini Strips – Asymmetrical die.
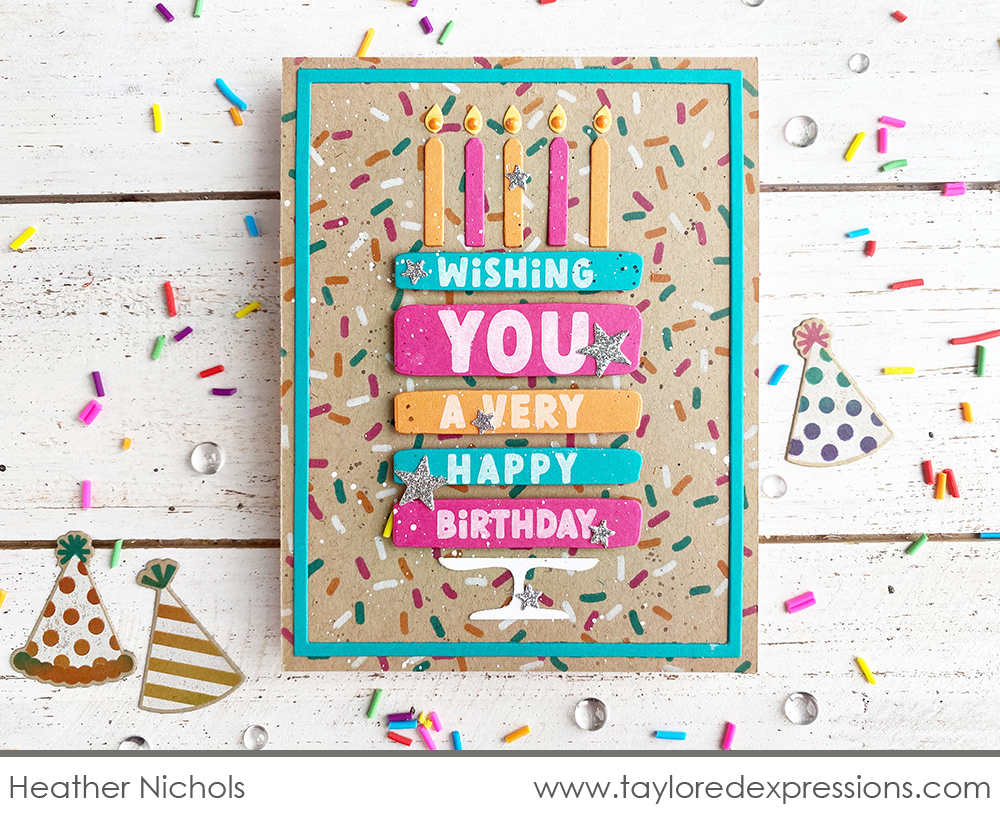
For this birthday card, I used the Piece of Cake die to create the cake (Heather Nichols)! I cut out the cake pieces from Lollipop, Candy Corn, and Blue Raspberry cardstock and then set them back into one of the negative die cuts to stamp the ‘wishing you…’ sentiment onto the layers. I also used a negative die cut piece to line the cake layers up on my card perfectly! The background of my card is stenciled with the Sprinkles Rotating Stencil using the same colors as the cake plus Sugar Cube ink. I finished off the card with Candy Corn Tiny Diamonds on the candles and silver glitter cardstock stars scattered over the cake!
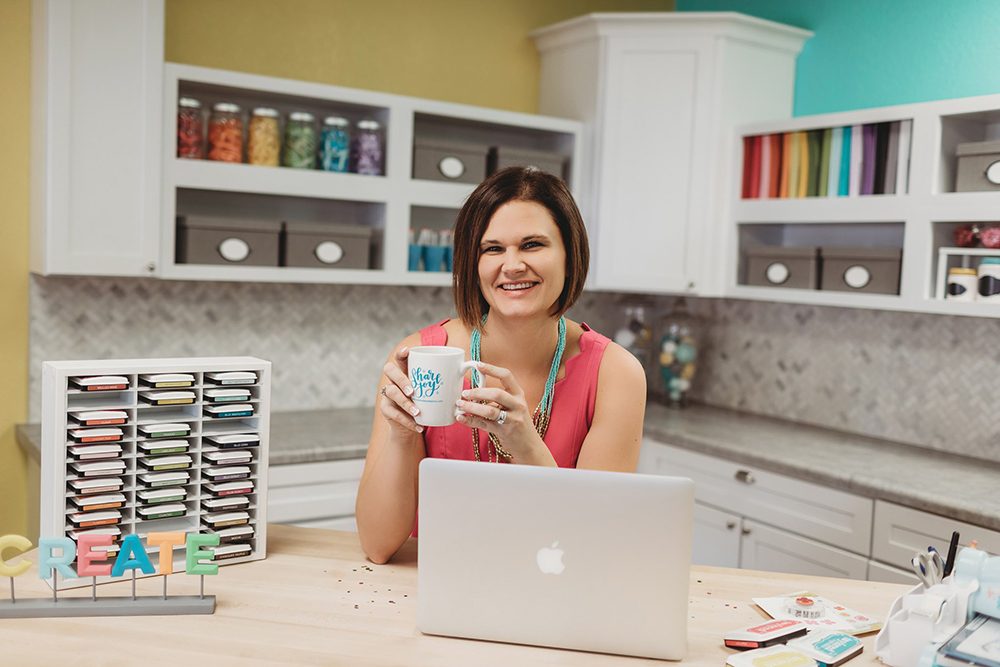
Join Taylor live for “T Time” at 1pm Central today on the Taylored Expressions Facebook Page. She’ll be sharing a closer look at all of the new products in the 13th Birthday release. We hope to see you there – come join in the fun! (Don’t worry, if you miss the live you can always watch the saved broadcast afterward!)
Thank you so much for stopping by today! Make sure you check out the rest of the Taylored Expressions Creative Team projects using the new birthday goodies from this release. Click on the faces below to visit their blogs. Stop back Thursday for more inspiration, another video, and a closer look at a few more new products from this release.


